
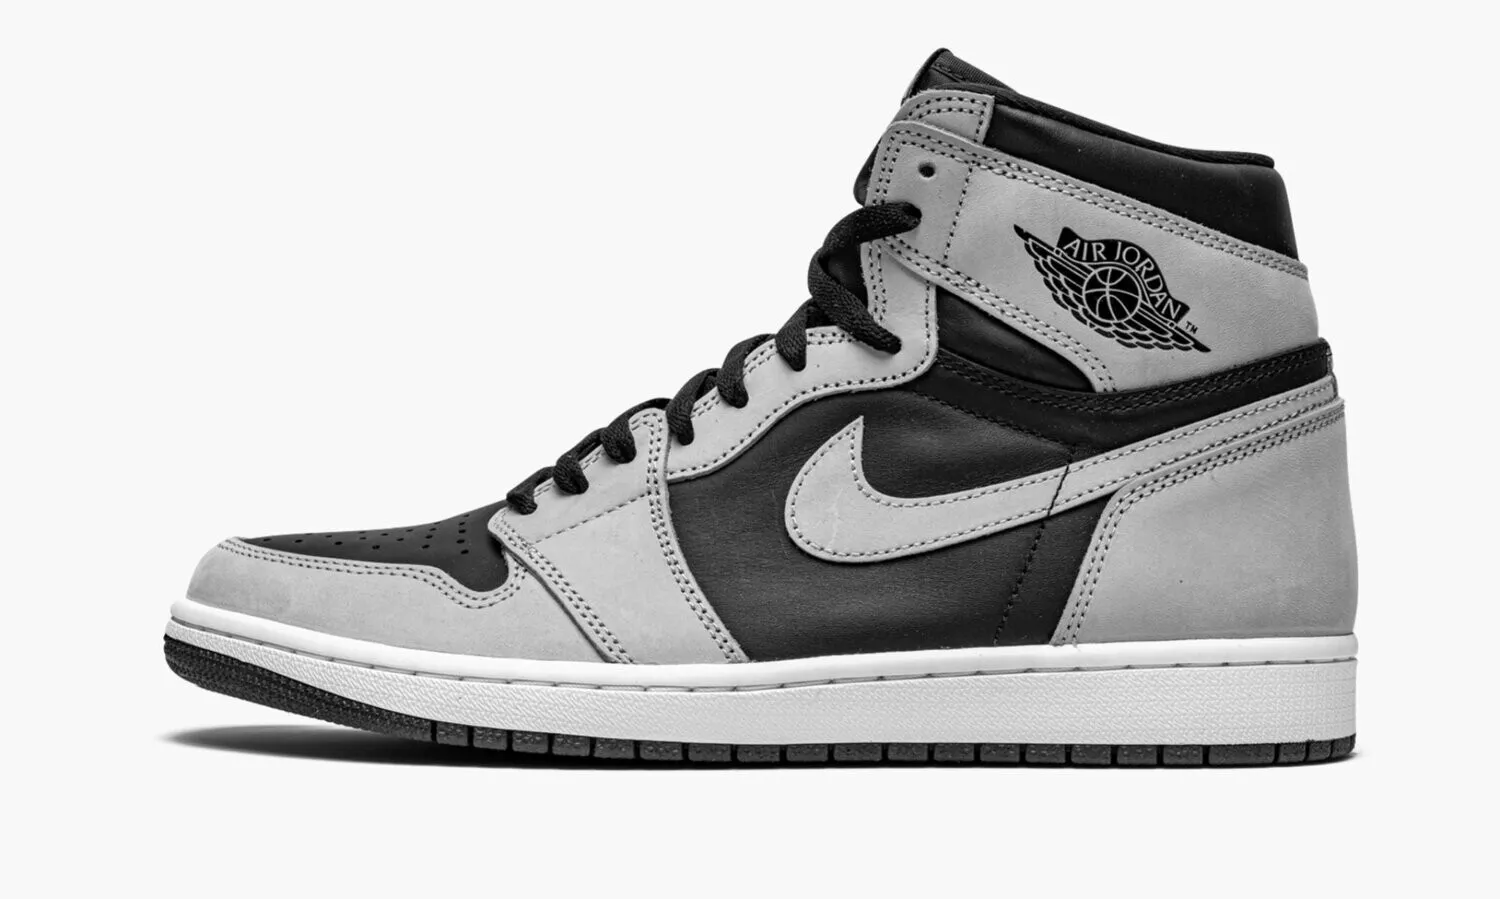
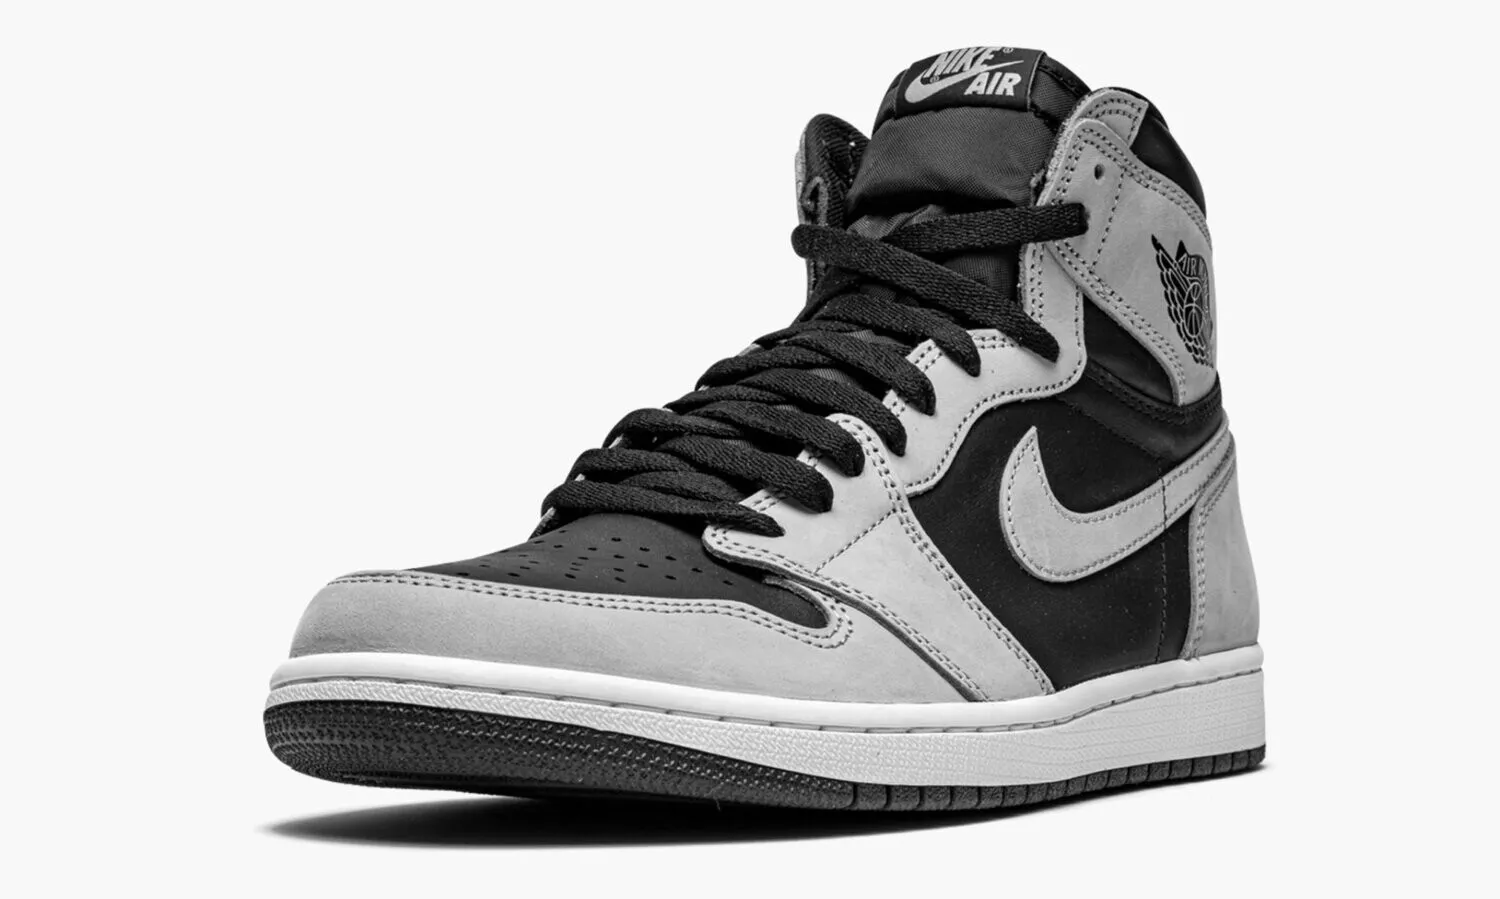
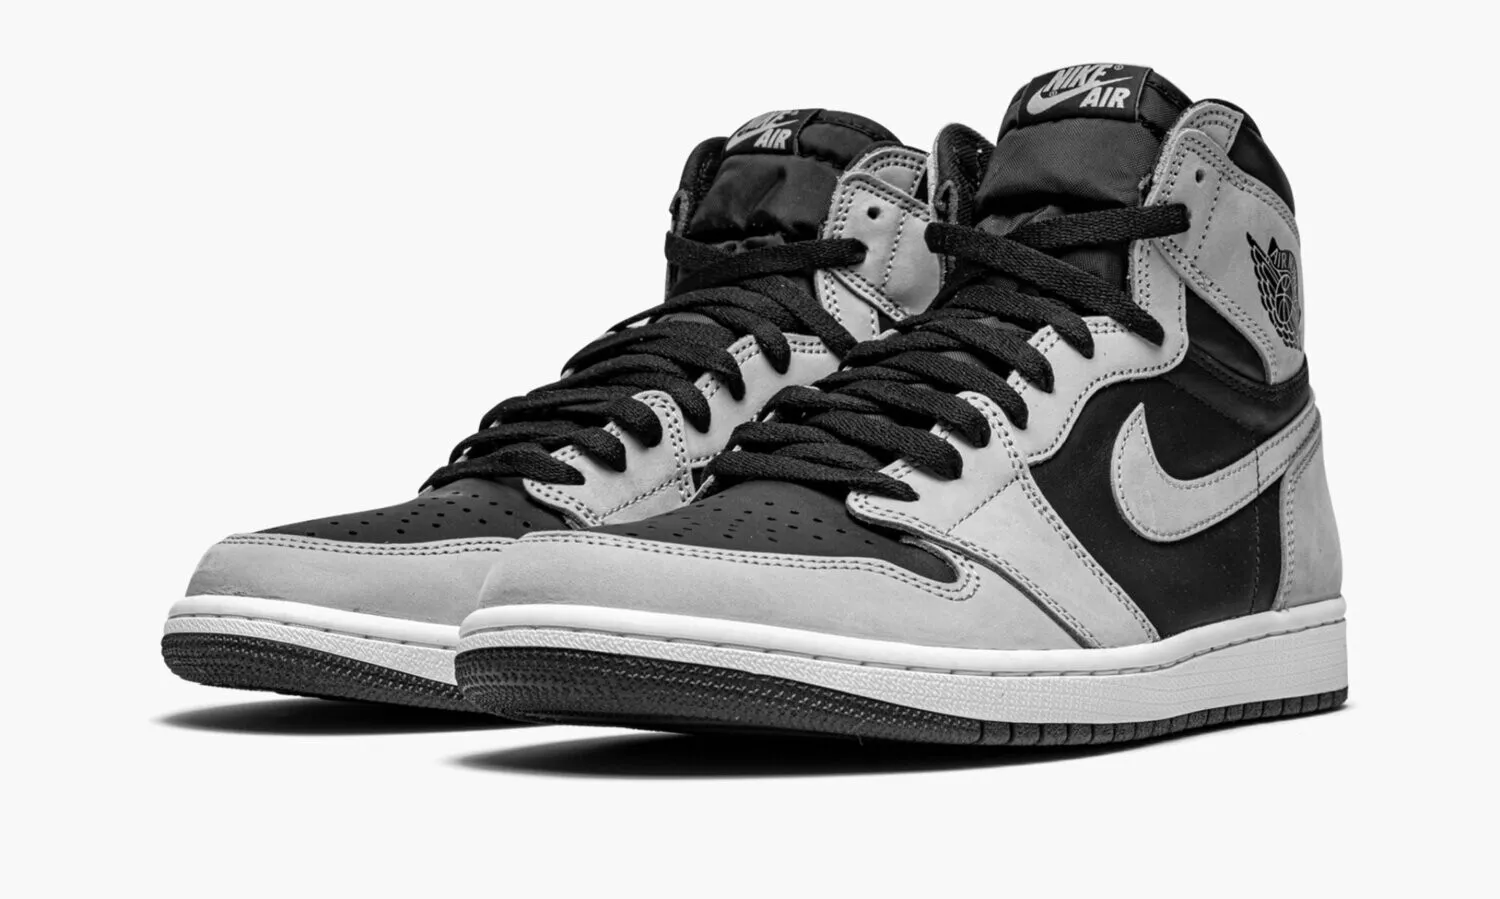
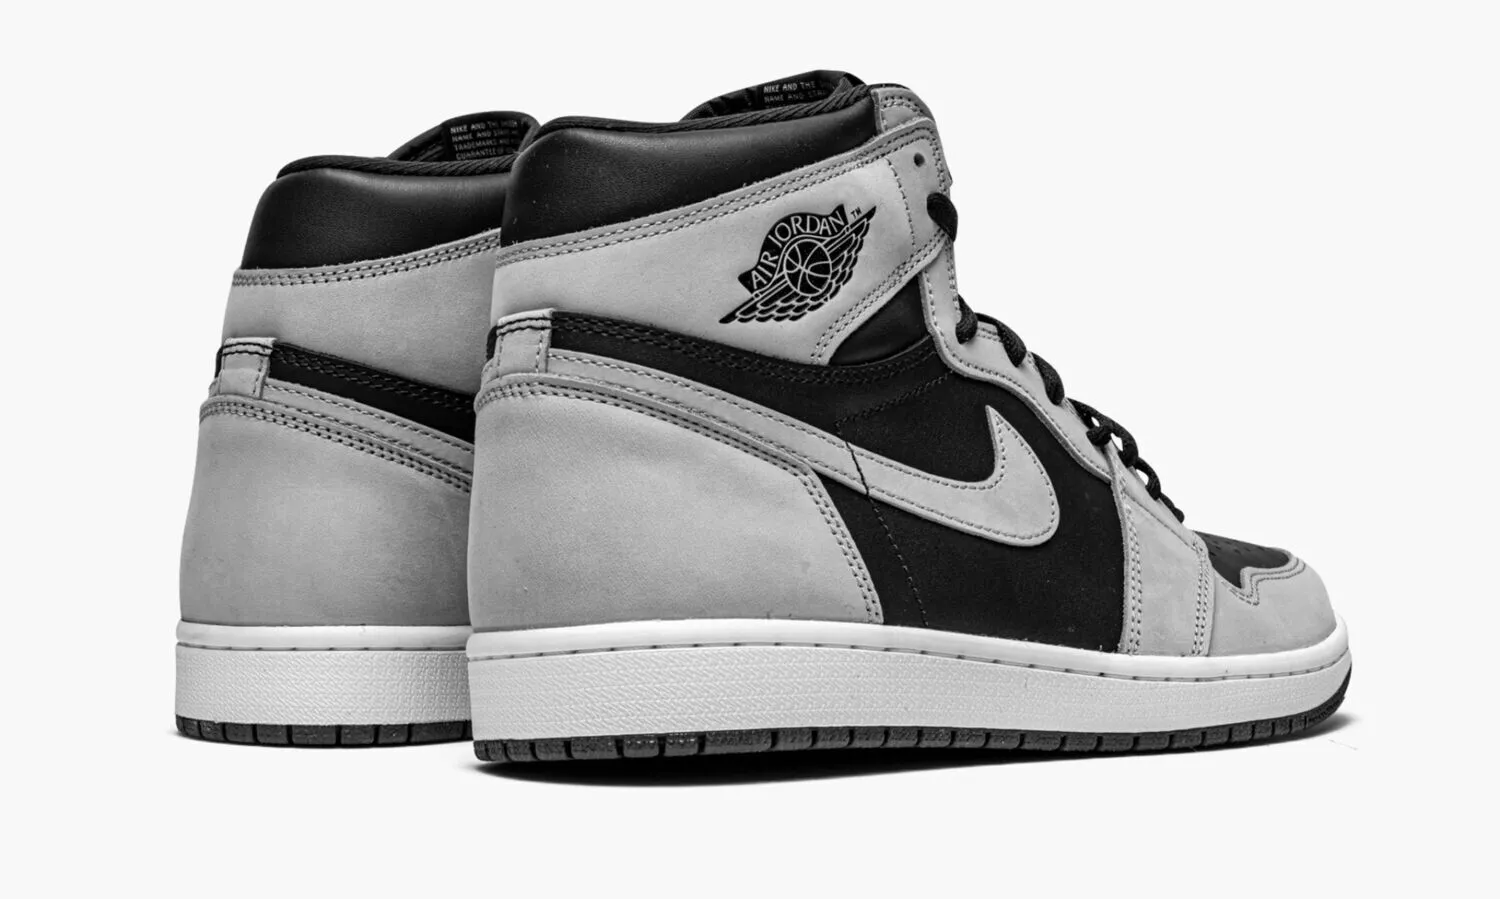
JORDAN 1 HIGH OG Shadow 2.0
-
Detail
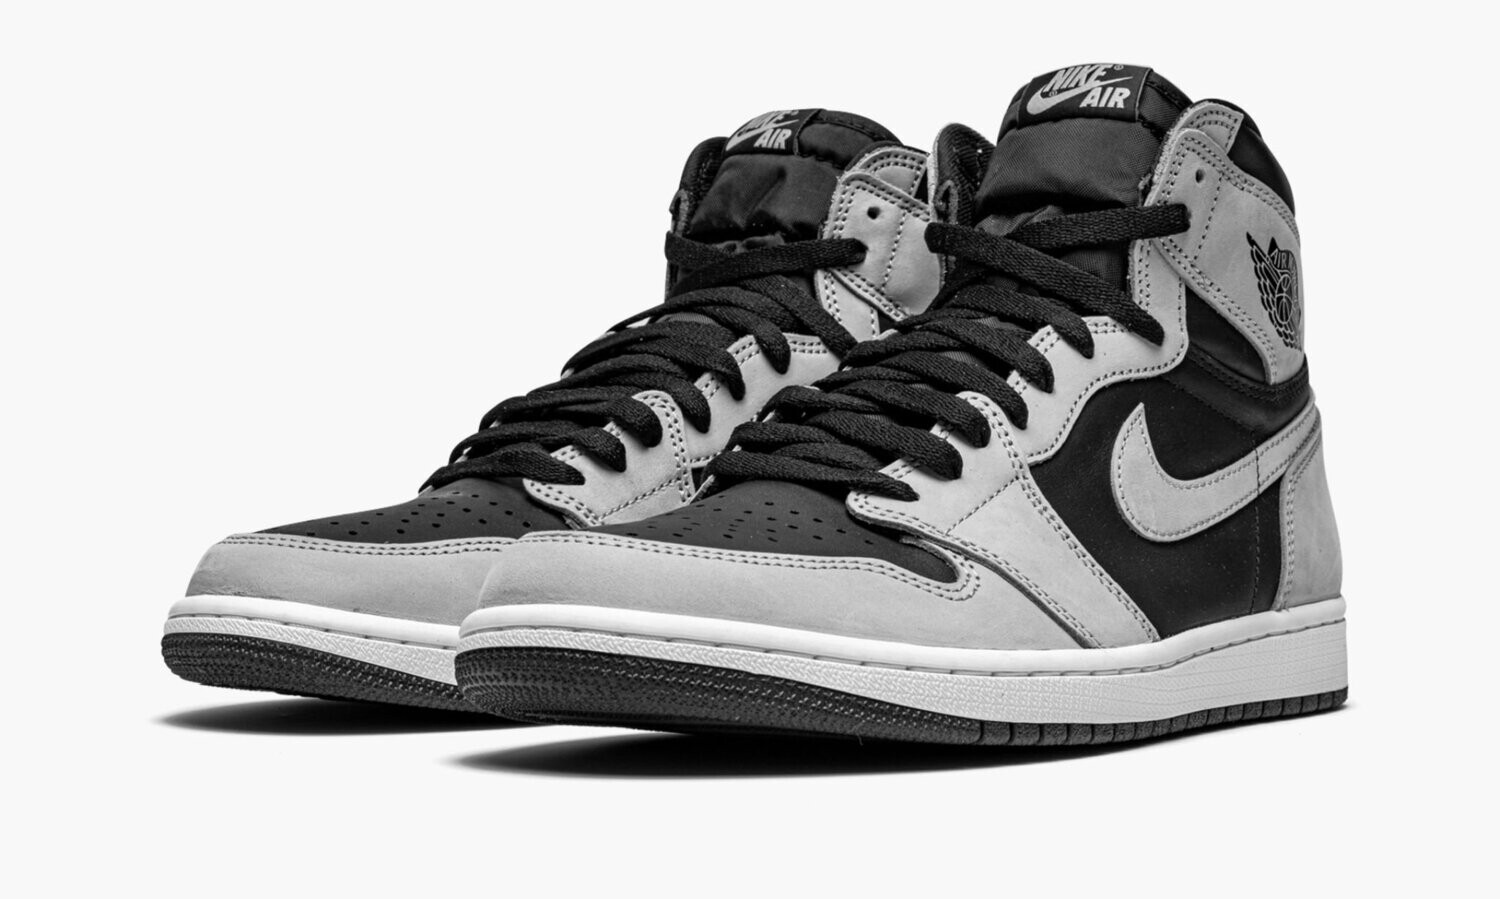
Air Jordan 1 Retro High OG Shadow 2.0: eight-photo QC archive
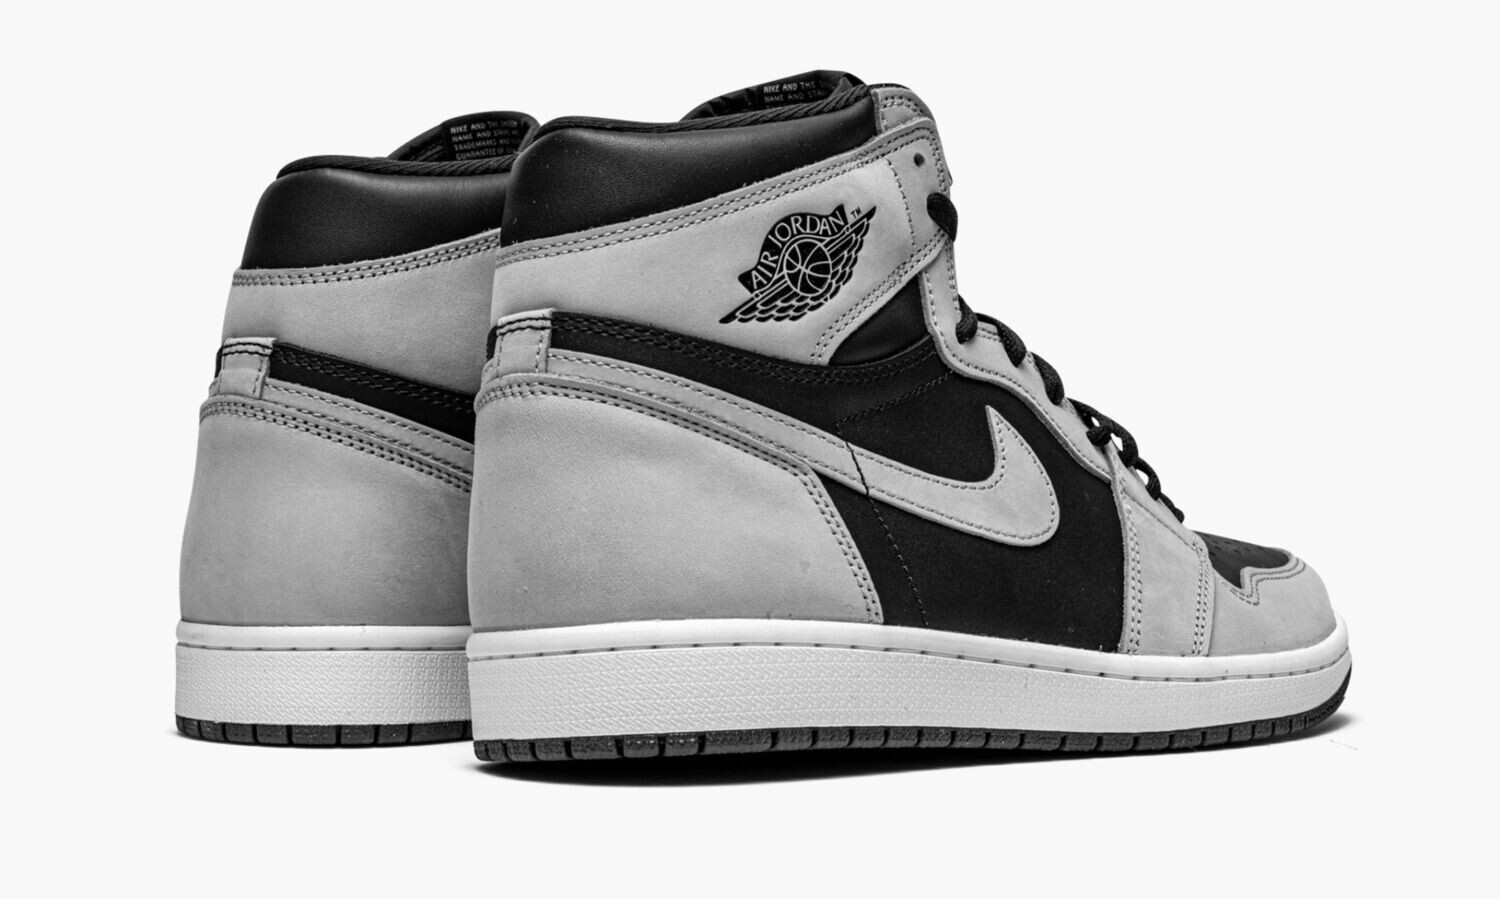
Side-panel stitching and heel stitching need separate views. In this eight-photo archive of the Air Jordan 1 Retro High OG Shadow 2.0, start with the paired inner sides, then move to the heel seams and central tabs.
These are Beetsneakers' own QC photographs of one historical replica pair, grouped under archive order 2212-8. They document that photographed pair; they do not establish the batch, condition or details of a future order.
How to check the side and heel seams
- Start with photo 1 to locate the side-panel edges and visible stitch lines. Use photos 5 and 8 for the outer sides. In photo 8, the spare-lace bag covers part of the panel: ask for the bag to be moved if you need to inspect that area.
- Check photo 2 separately for the horizontal heel seams and the small central tabs. If a stitch line looks unclear, ask for a close-up taken square to that area with even lighting, plus a wider view showing which shoe is pictured. A sharper detail photo is more useful than guessing from a distant seam.
- Use photos 6 and 7 together for the toe areas and tongues. Their camera heights differ, so an apparent change in shape is not a measurement. Photo 4 records one shoe label; it cannot confirm the other shoe's label or tell you how the pair will fit.
All eight photos from the same archive pair

1. Paired inner sides — Both inner sides show the light-colored panel edges, Swoosh outlines and visible stitching. The far ends curve away from the camera; use separate views for those areas. 
2. Both heels — The horizontal heel seams meet small central tabs. Compare this view separately from the side panels; the photo does not test seam strength. 
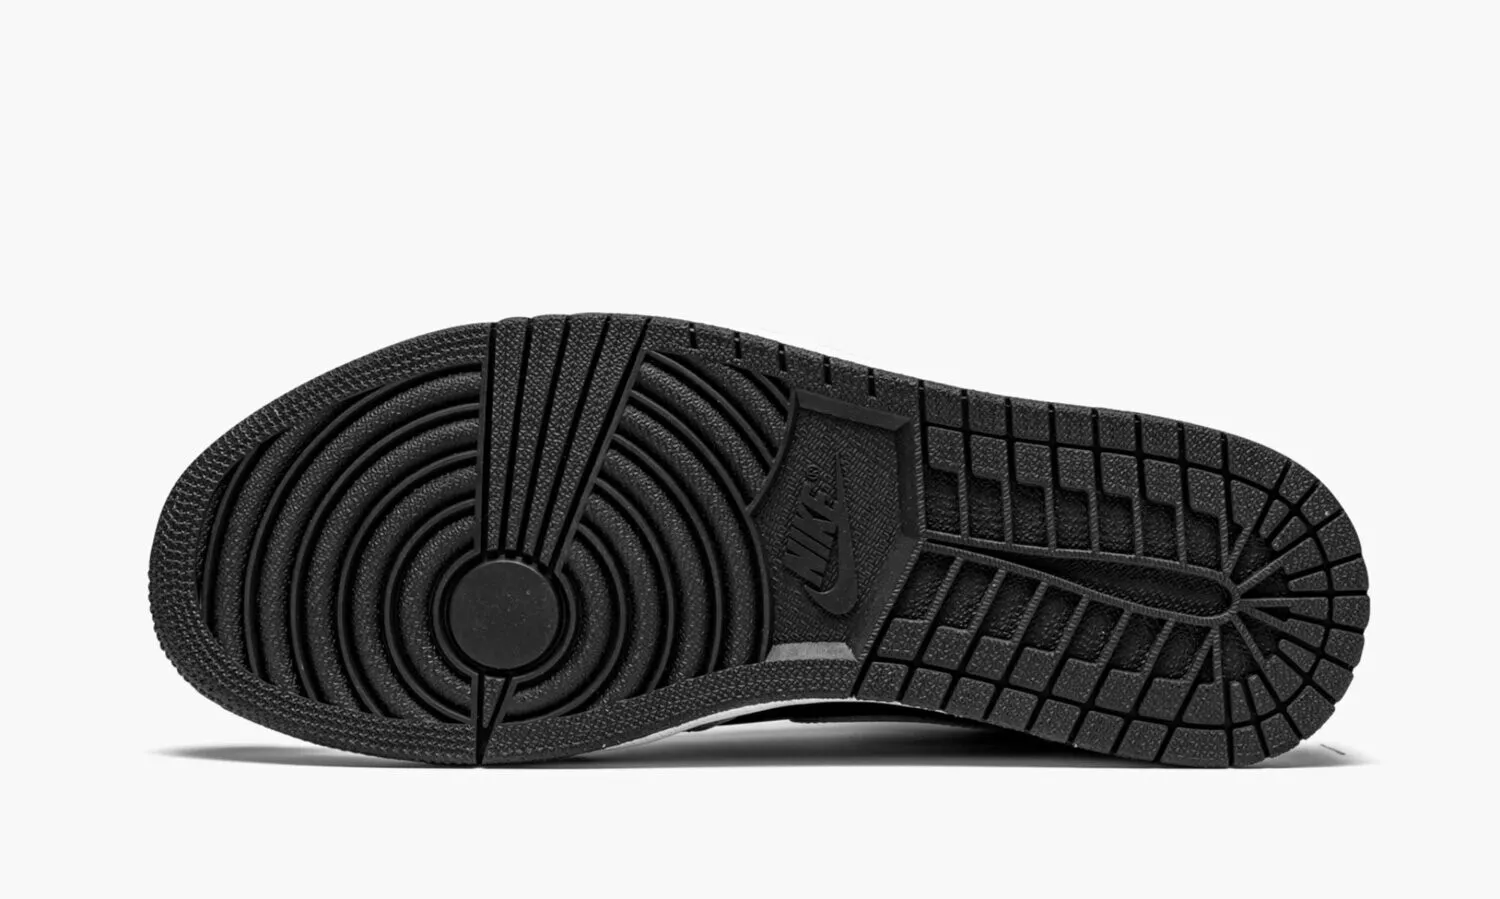
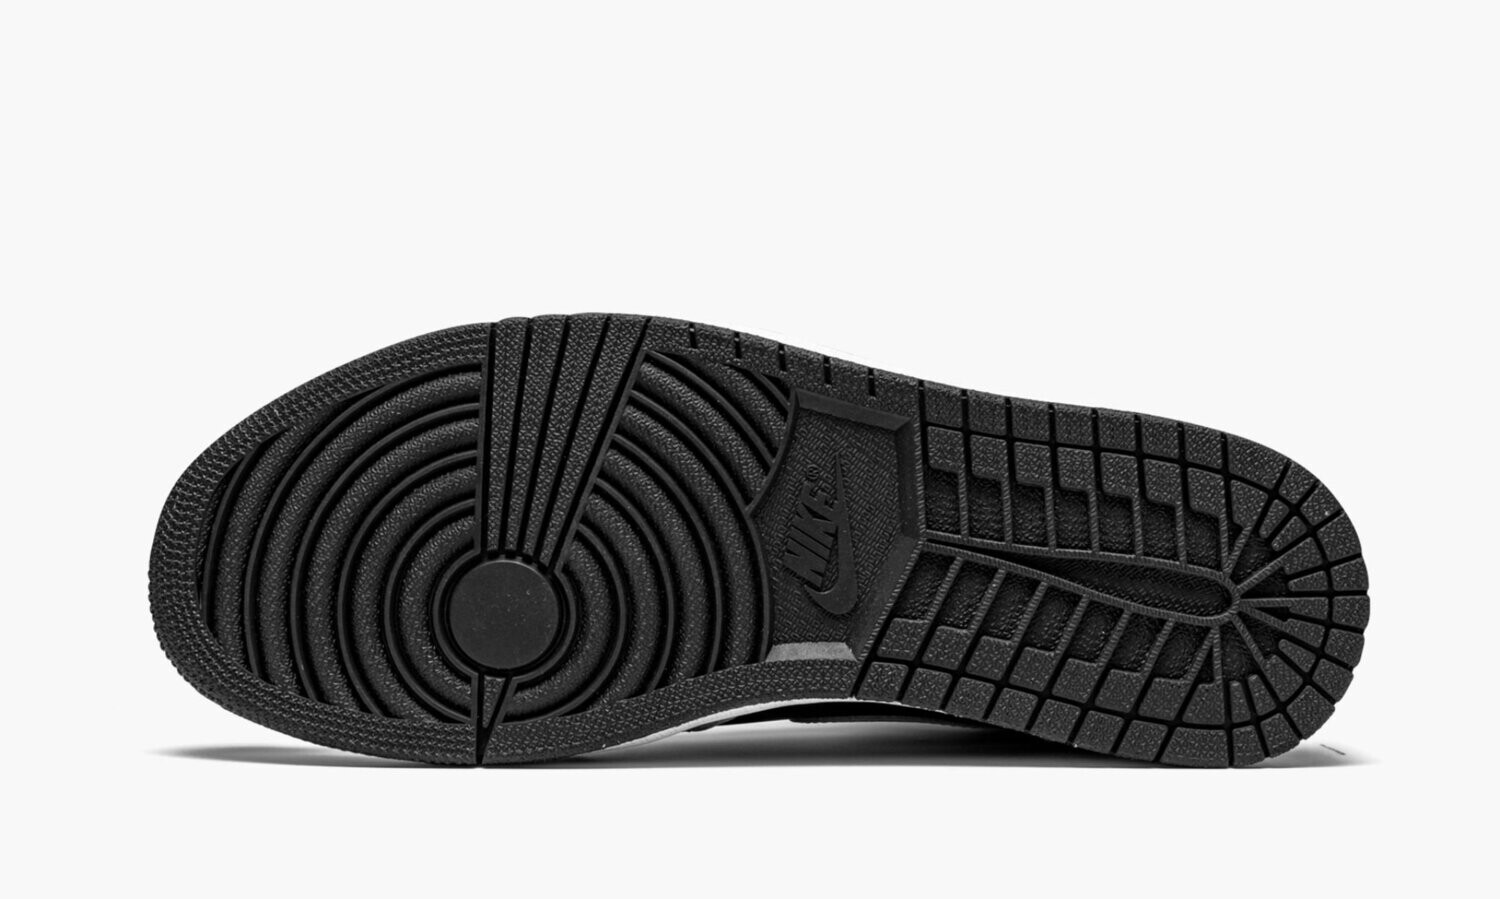
3. Both outsoles — Both tread patterns and outsole edges are shown together. A still photo cannot demonstrate grip or wear resistance. 
4. Inside shoe label — This close-up records the printed product and size information on one shoe. Match it to the intended order; the label alone does not establish fit or authenticity. 
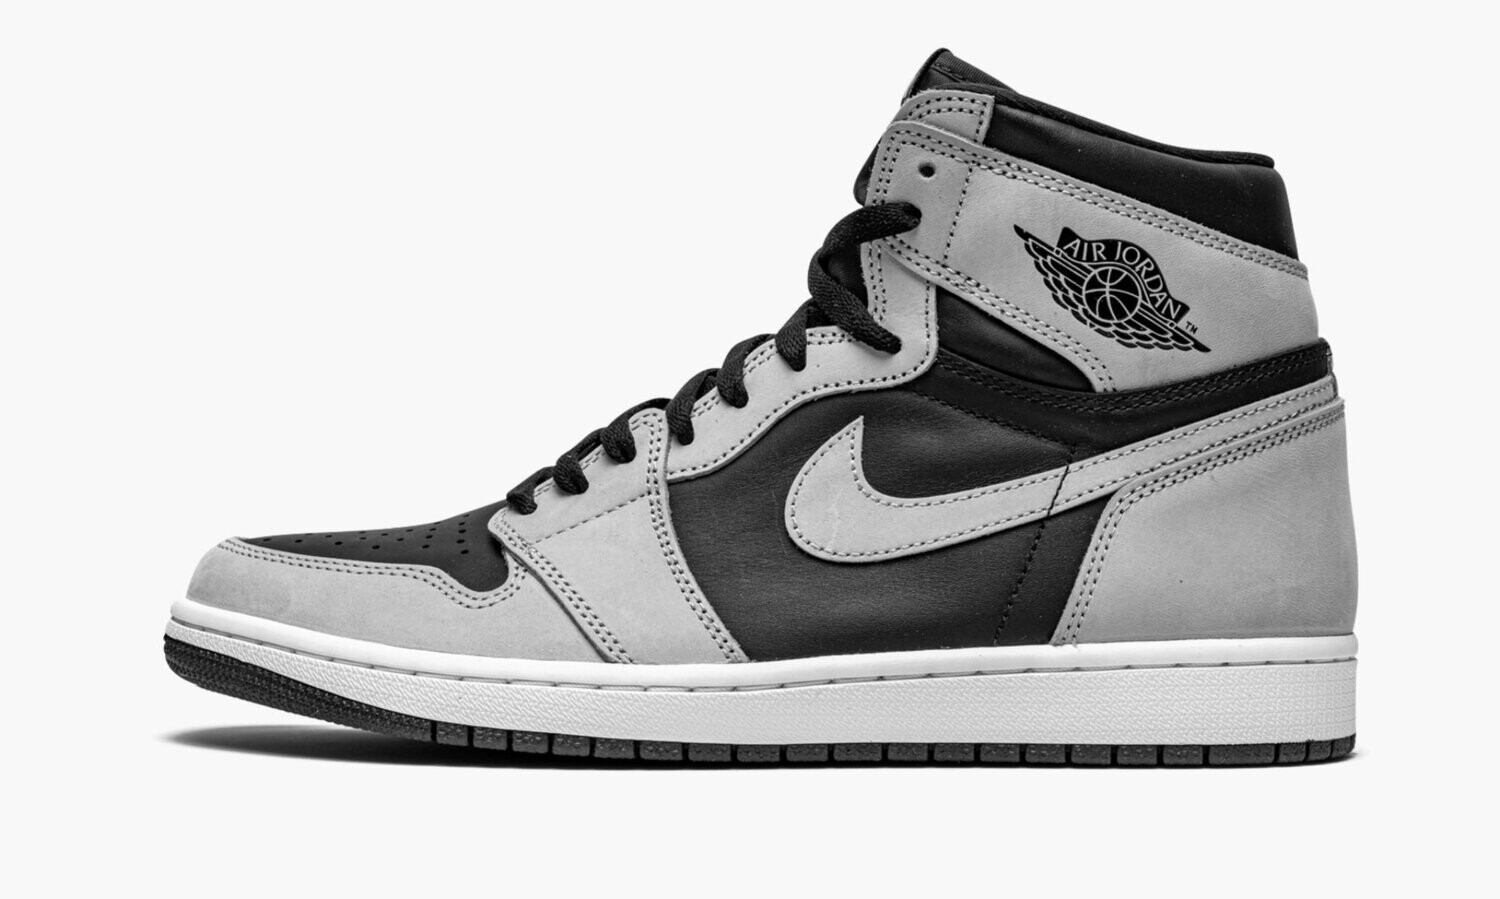
5. Outer side profile A — The foreground shoe shows its side panels, Swoosh and collar logo. The box product label is also visible below; it is not a shipping label. 
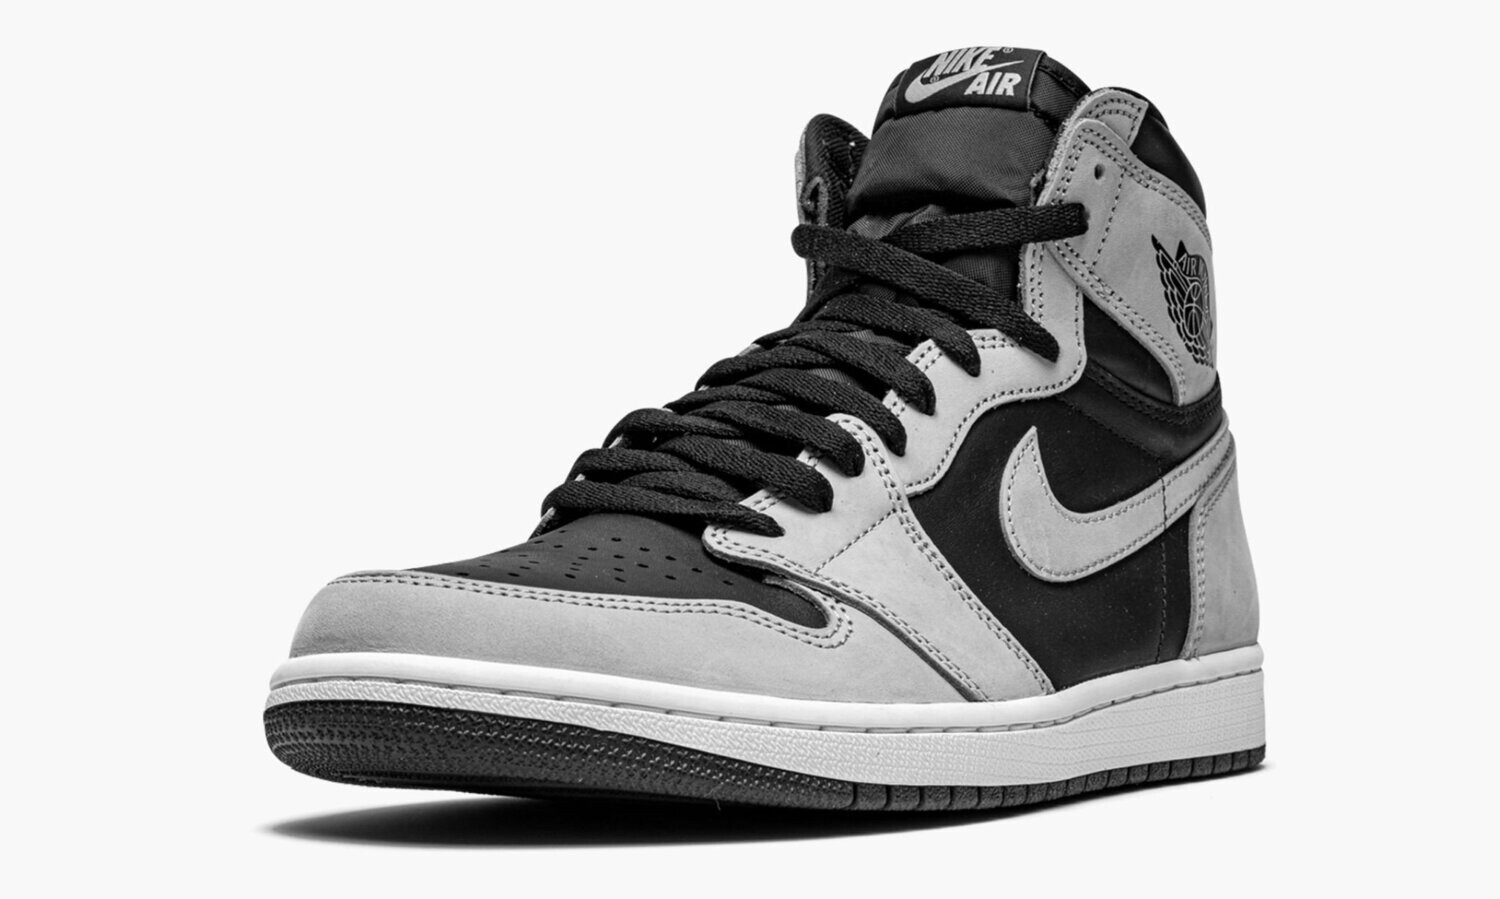
6. Lower front view — Both toe areas, laces and tongues are visible from a lower angle. Keep camera height and shoe position in mind when comparing their outlines. 
7. Top view — The higher view shows toe perforations, lacing and tongue labels. Read it alongside photo 6 instead of treating the two camera angles as identical measurements. 
8. Outer side profile B — The other outer side and the attached spare-lace bag are visible. The bag covers part of the panel, so request an unobstructed photo if that area matters. What these photos cannot establish
This photo set does not test material composition, comfort, seam strength, grip or durability. It also does not establish retail authenticity or prove that another pair will be identical. For a particular order, review the photos of that actual pair and ask for any missing angle before approving shipment.
For the general process and size-label checks, read our pre-shipment QC photo guide. You can also browse the complete eight-photo QC case index.
-
Customer ReviewsNo comments