
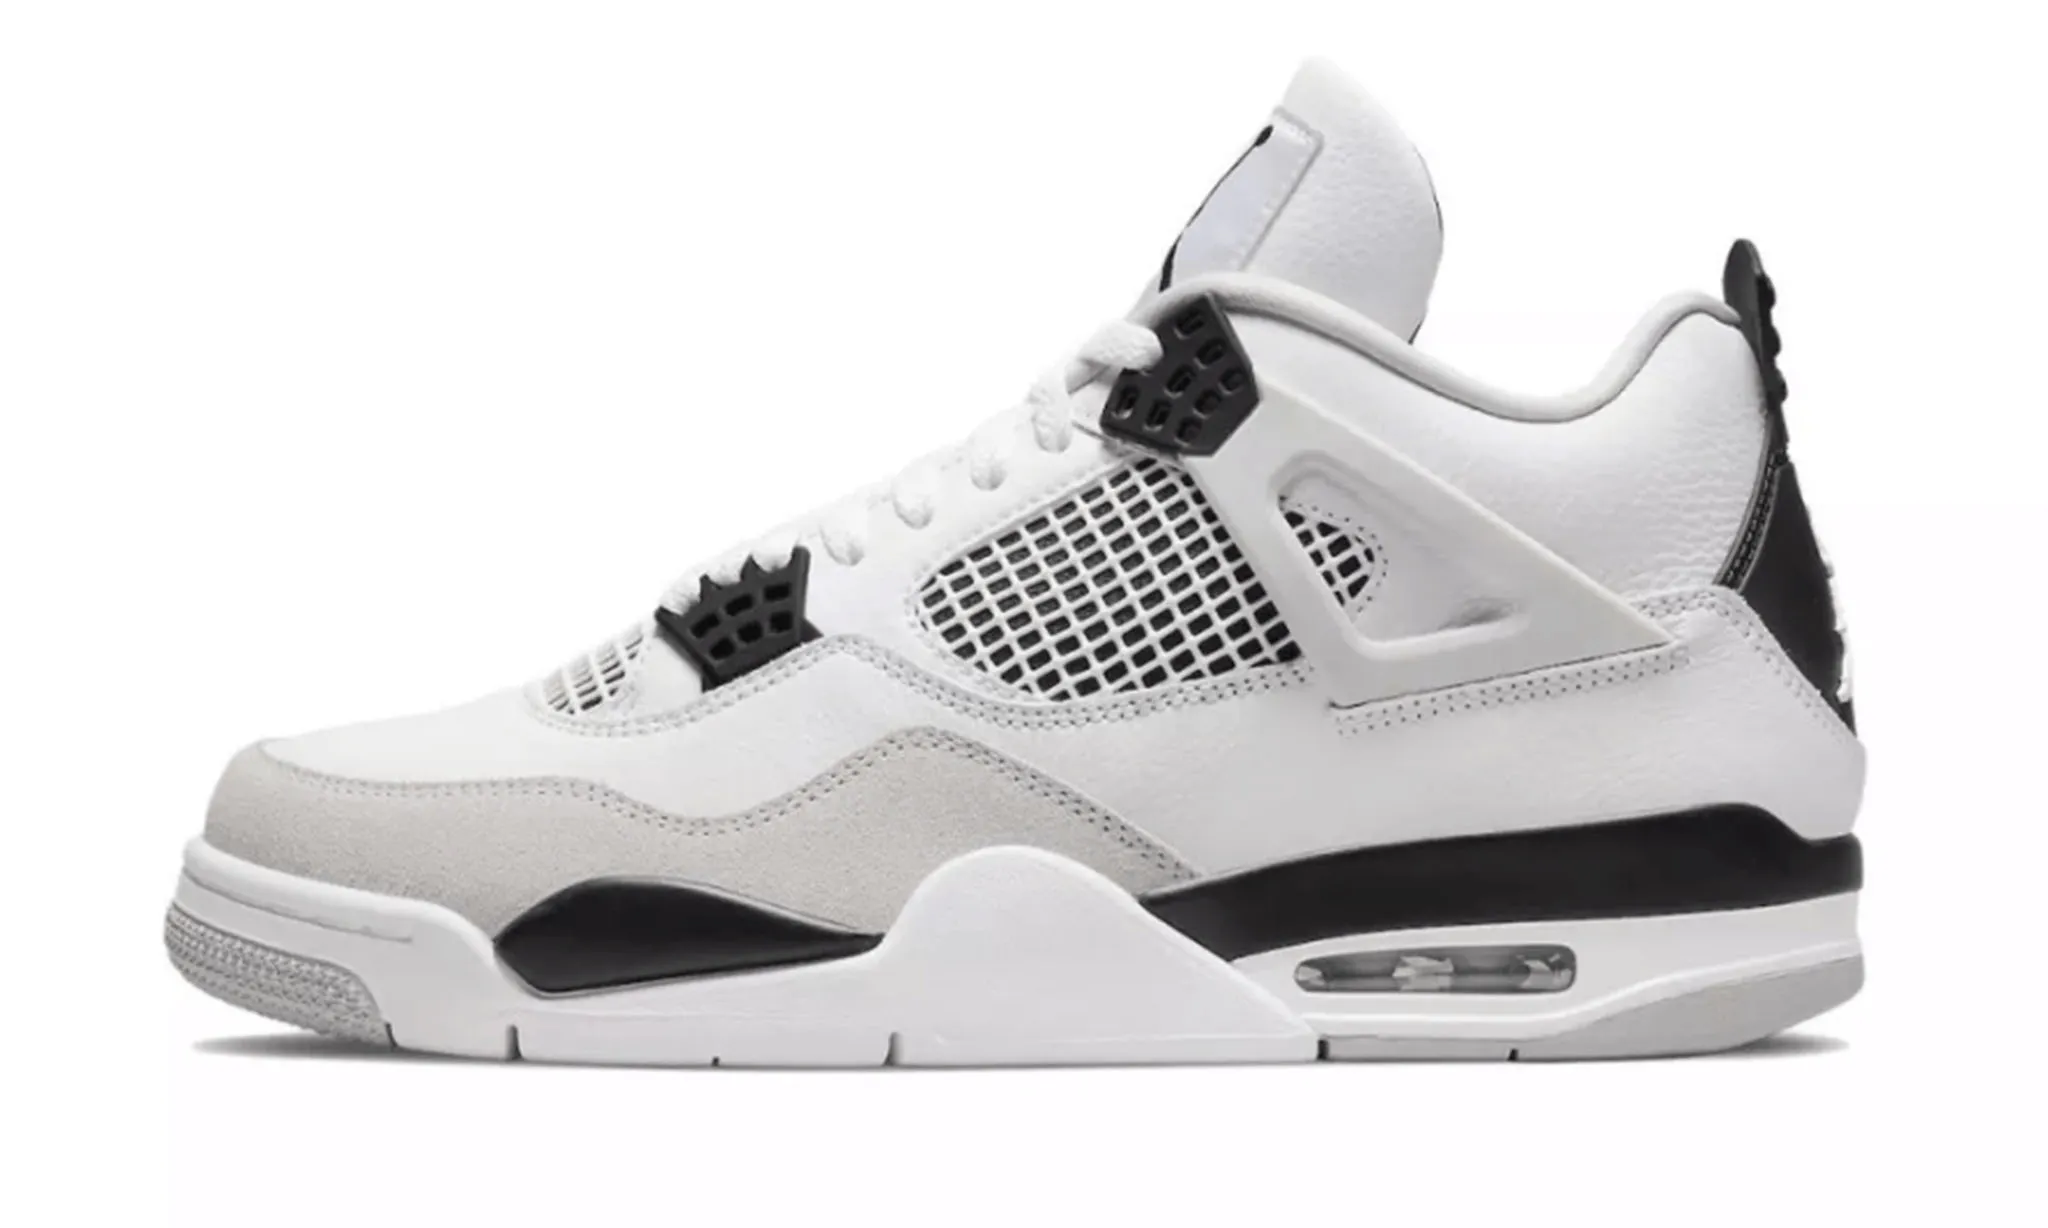
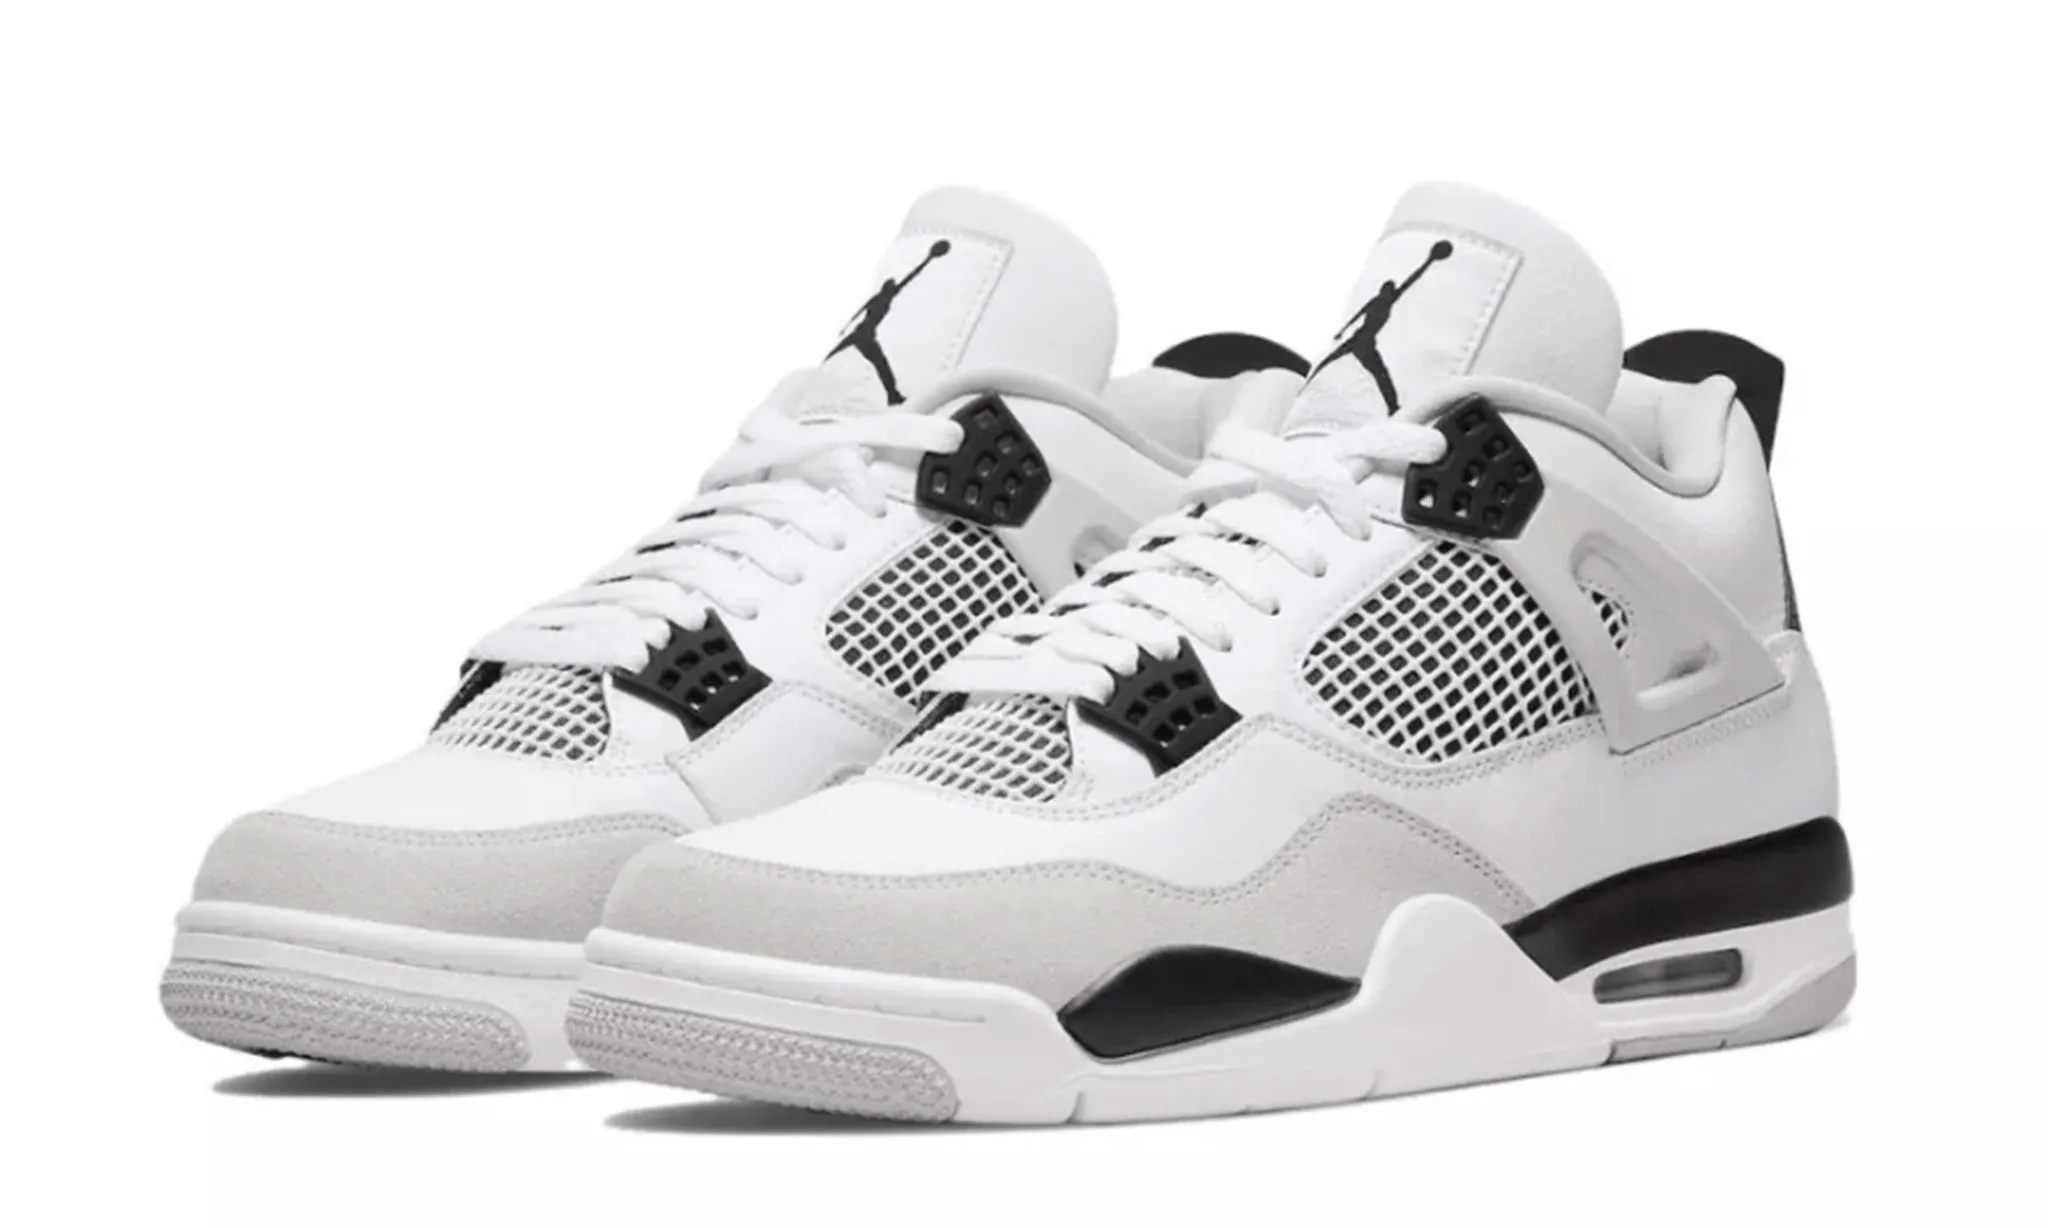
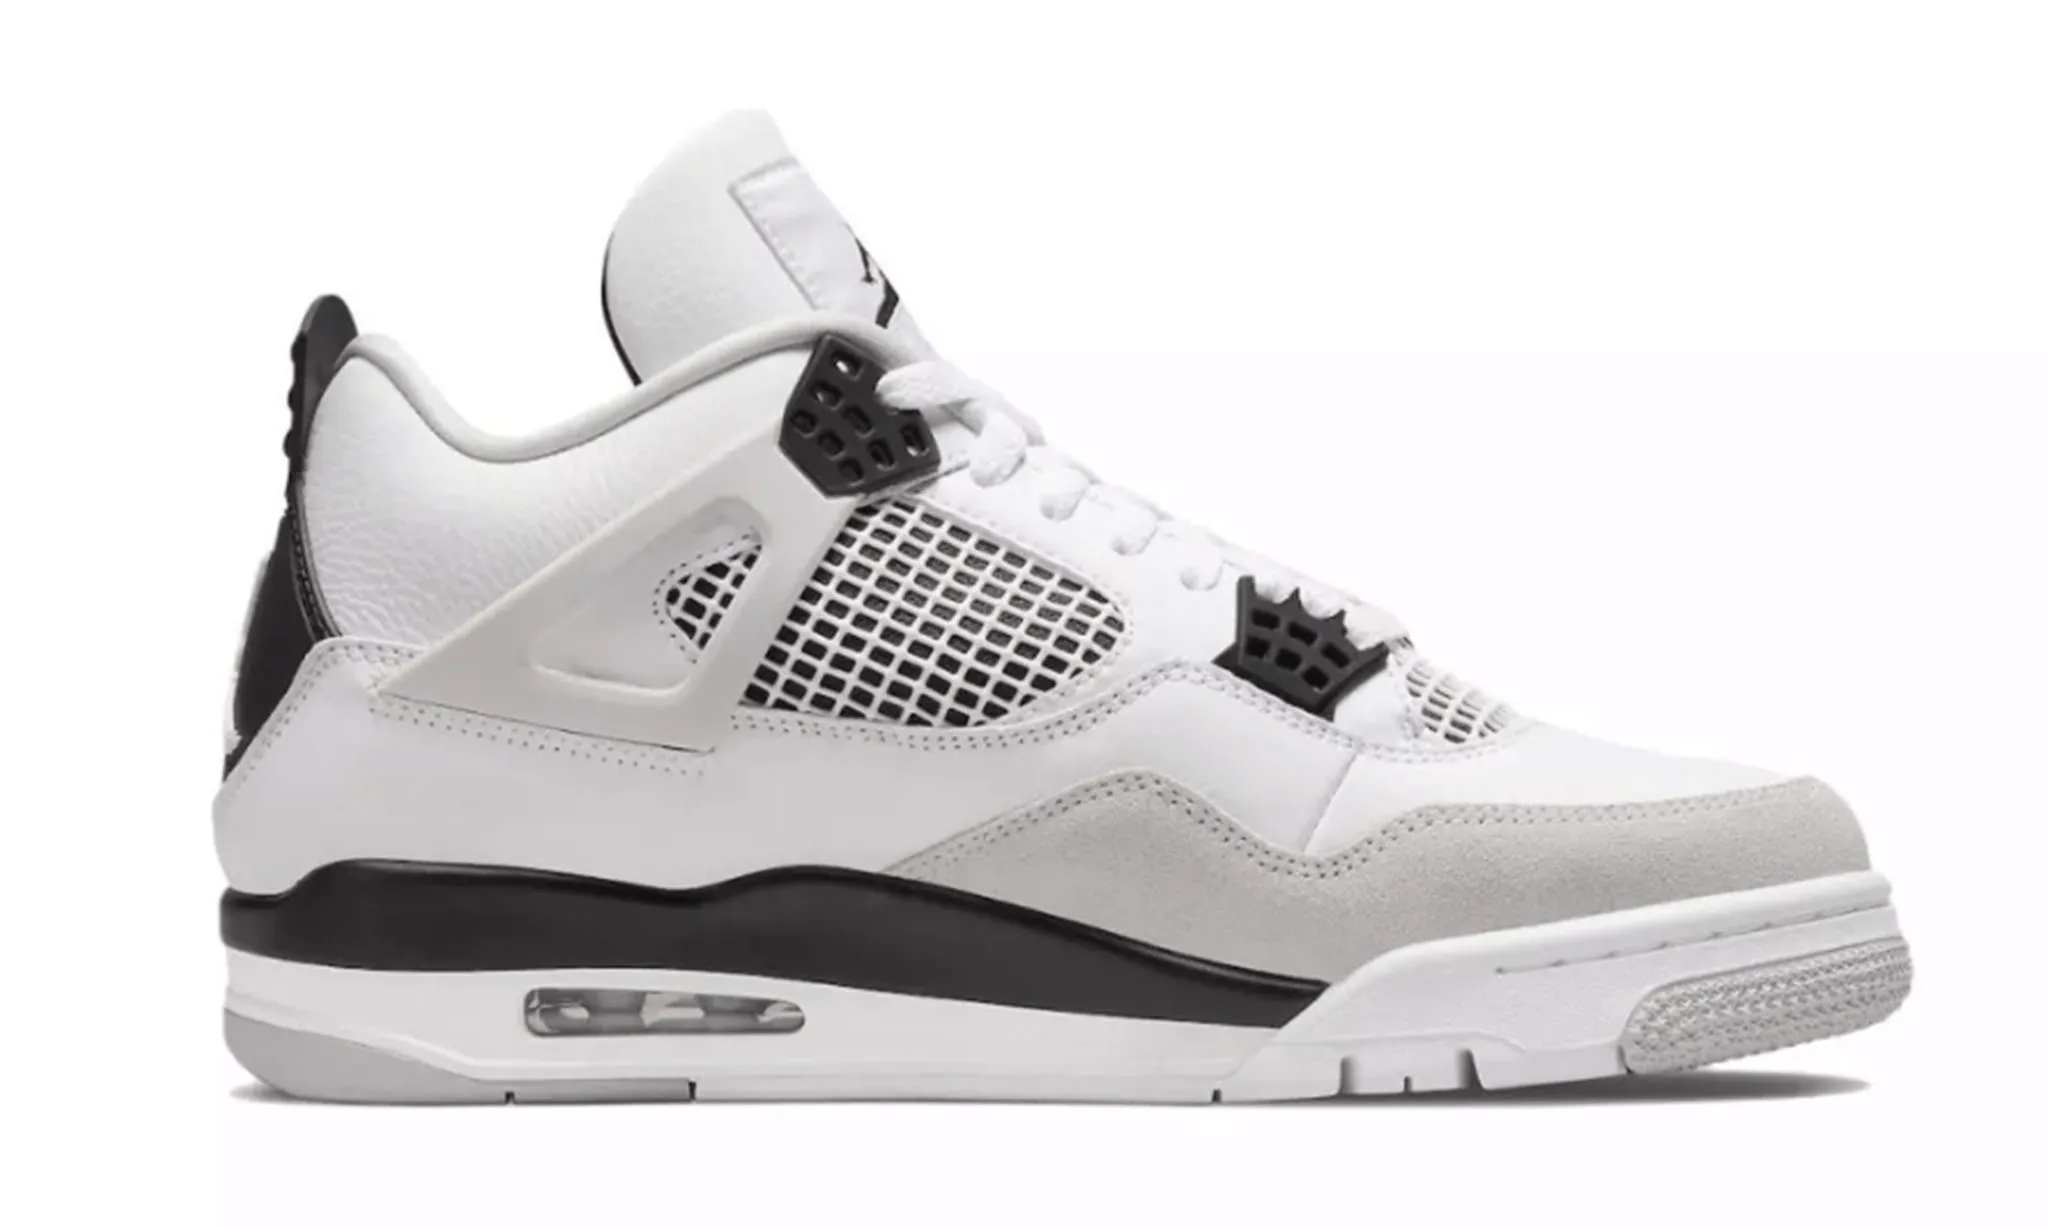
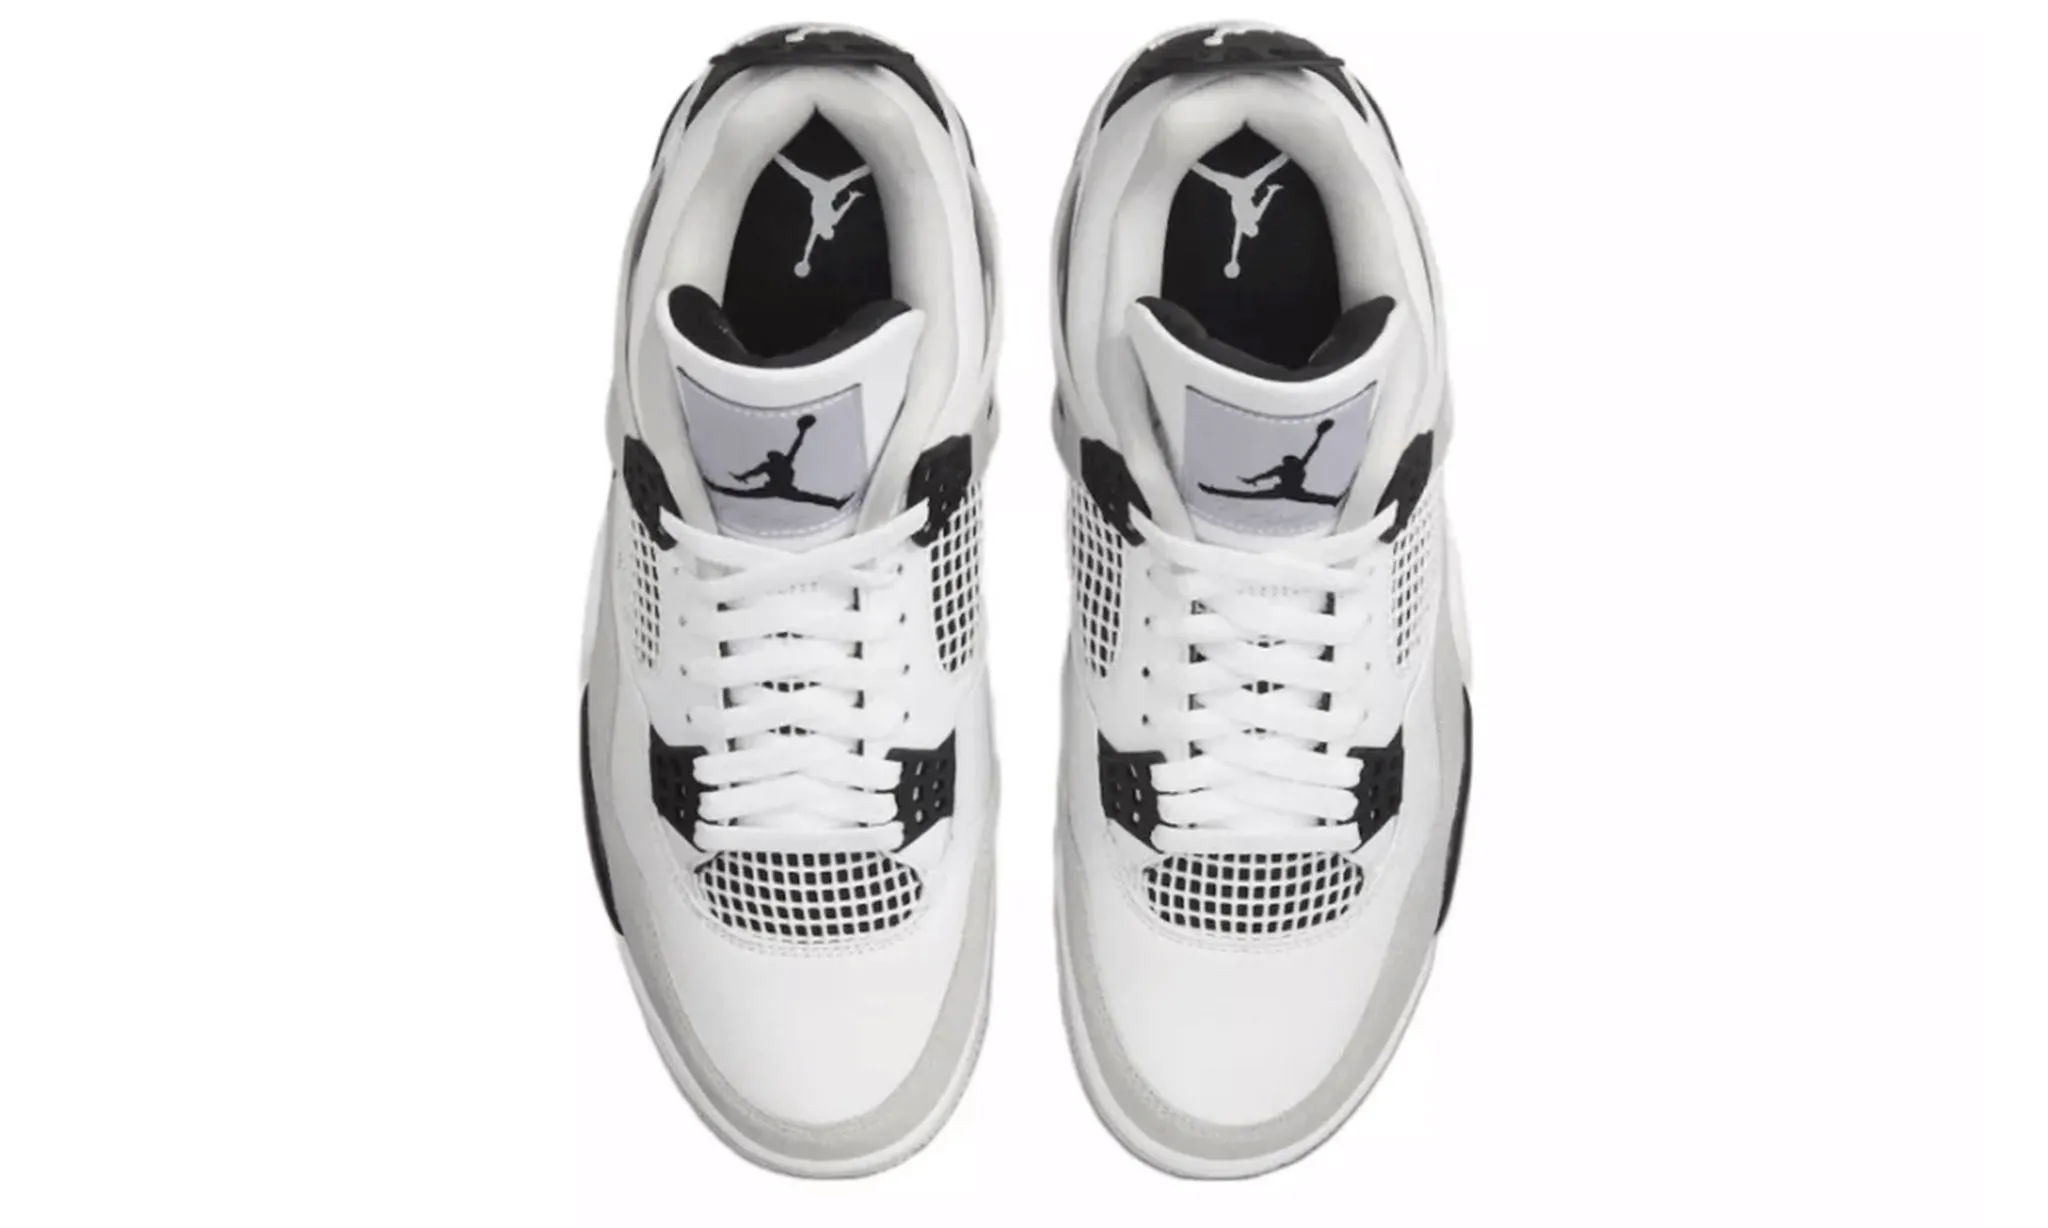
Jordan 4 Retro Military Black
-
Detail
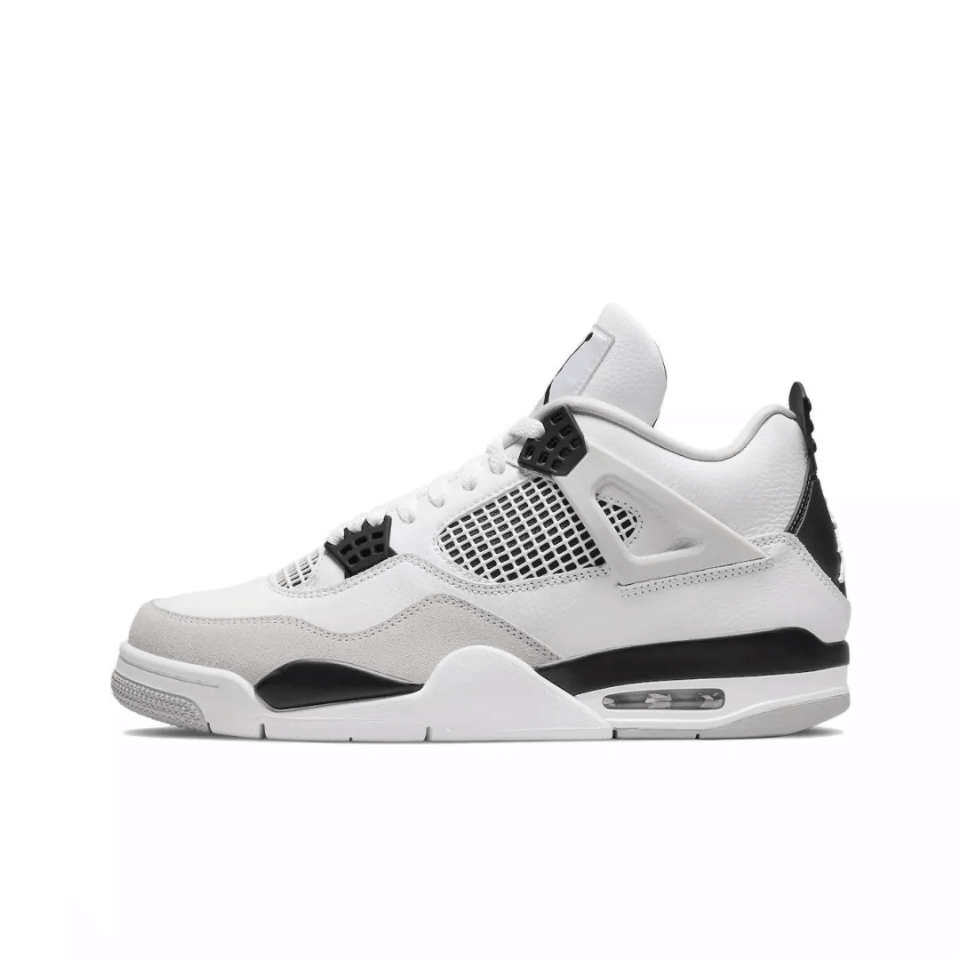
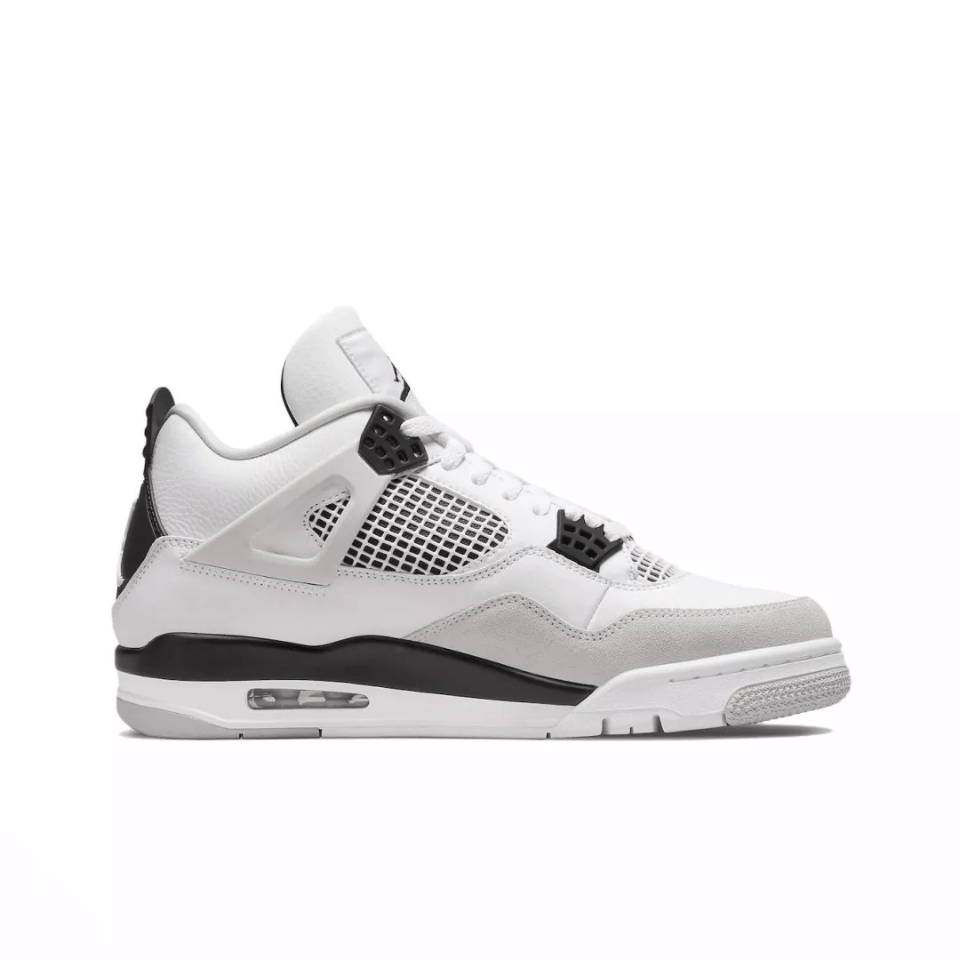
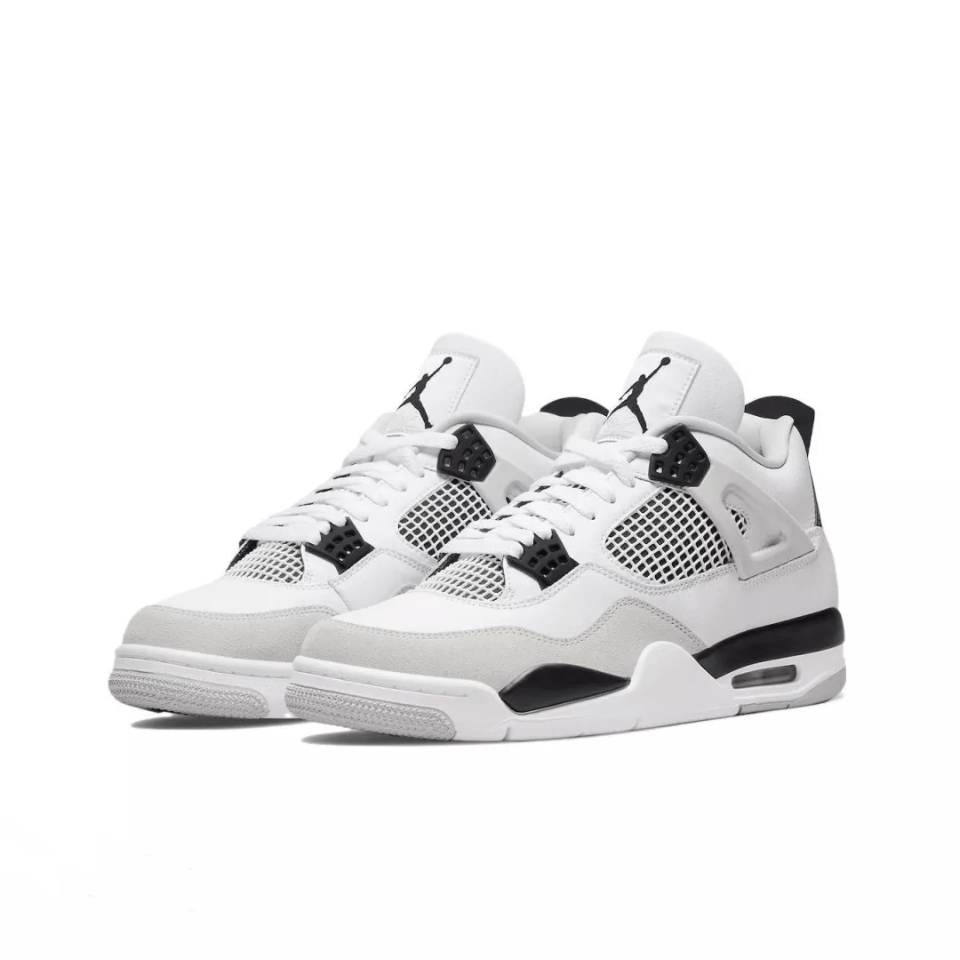


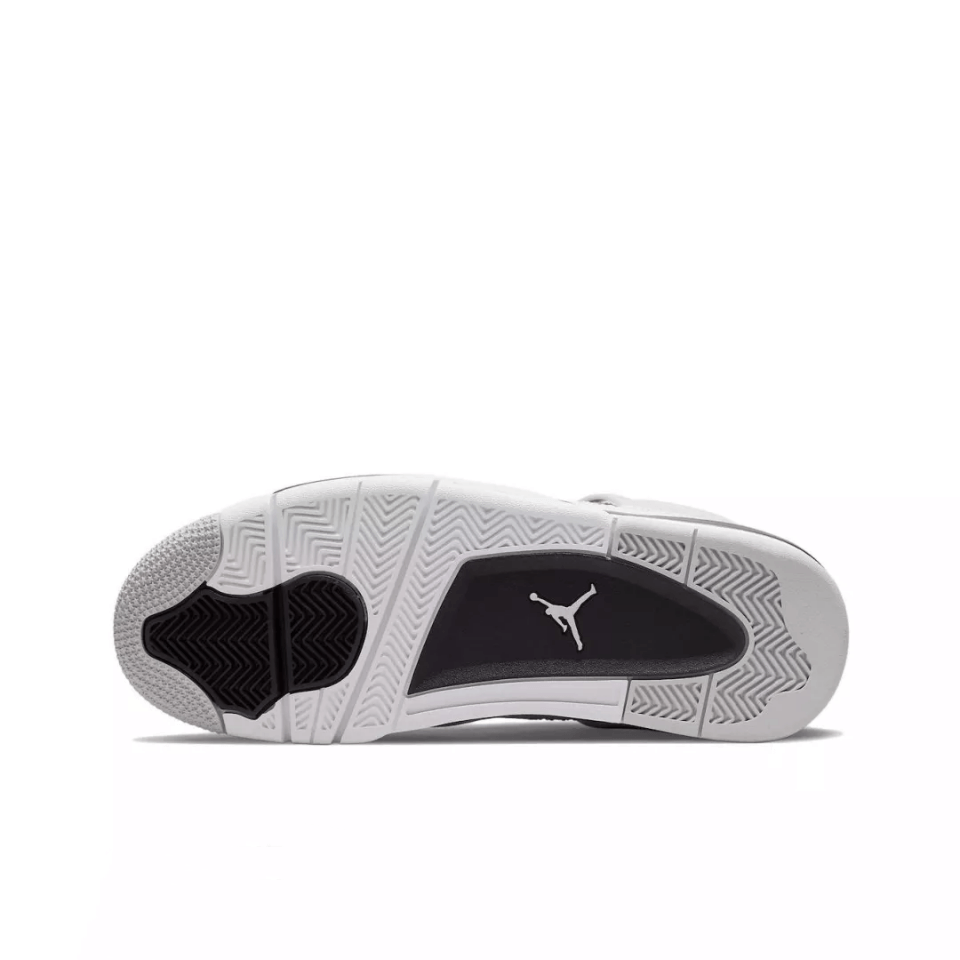
Air Jordan 4 Retro Military Black: checking shape across eight QC views
Compare the higher and lower front views before judging the toe outline on Air Jordan 4 Retro Military Black. These eight original QC photos document one historical replica pair from the Beetsneakers archive, reference 1933. Photos 1 and 2 show how camera height changes which part of the shoe is easiest to see.
Photo 1 shows more of the toe tops, lacing and tongue patches. Photo 2 makes the front edges more direct, while photos 5 and 7 add the separate side profiles. If one front looks taller in a photograph, first check whether both shoes sit level and the camera is centered. Request a matching view of the exact area before treating an apparent difference as a confirmed shape defect. The heel view in photo 8 gives another comparison point without measuring either shoe.
This historical photo set illustrates a review method. It does not establish the dimensions, fit or materials of a newly ordered pair. These are historical archive photos, not photographs of a newly placed order, customer reviews or authentication results.

1. Higher front view — The toe tops, mesh openings, laces and tongue patches are visible. Compare this with photo 2 to separate viewing angle from shoe shape. 
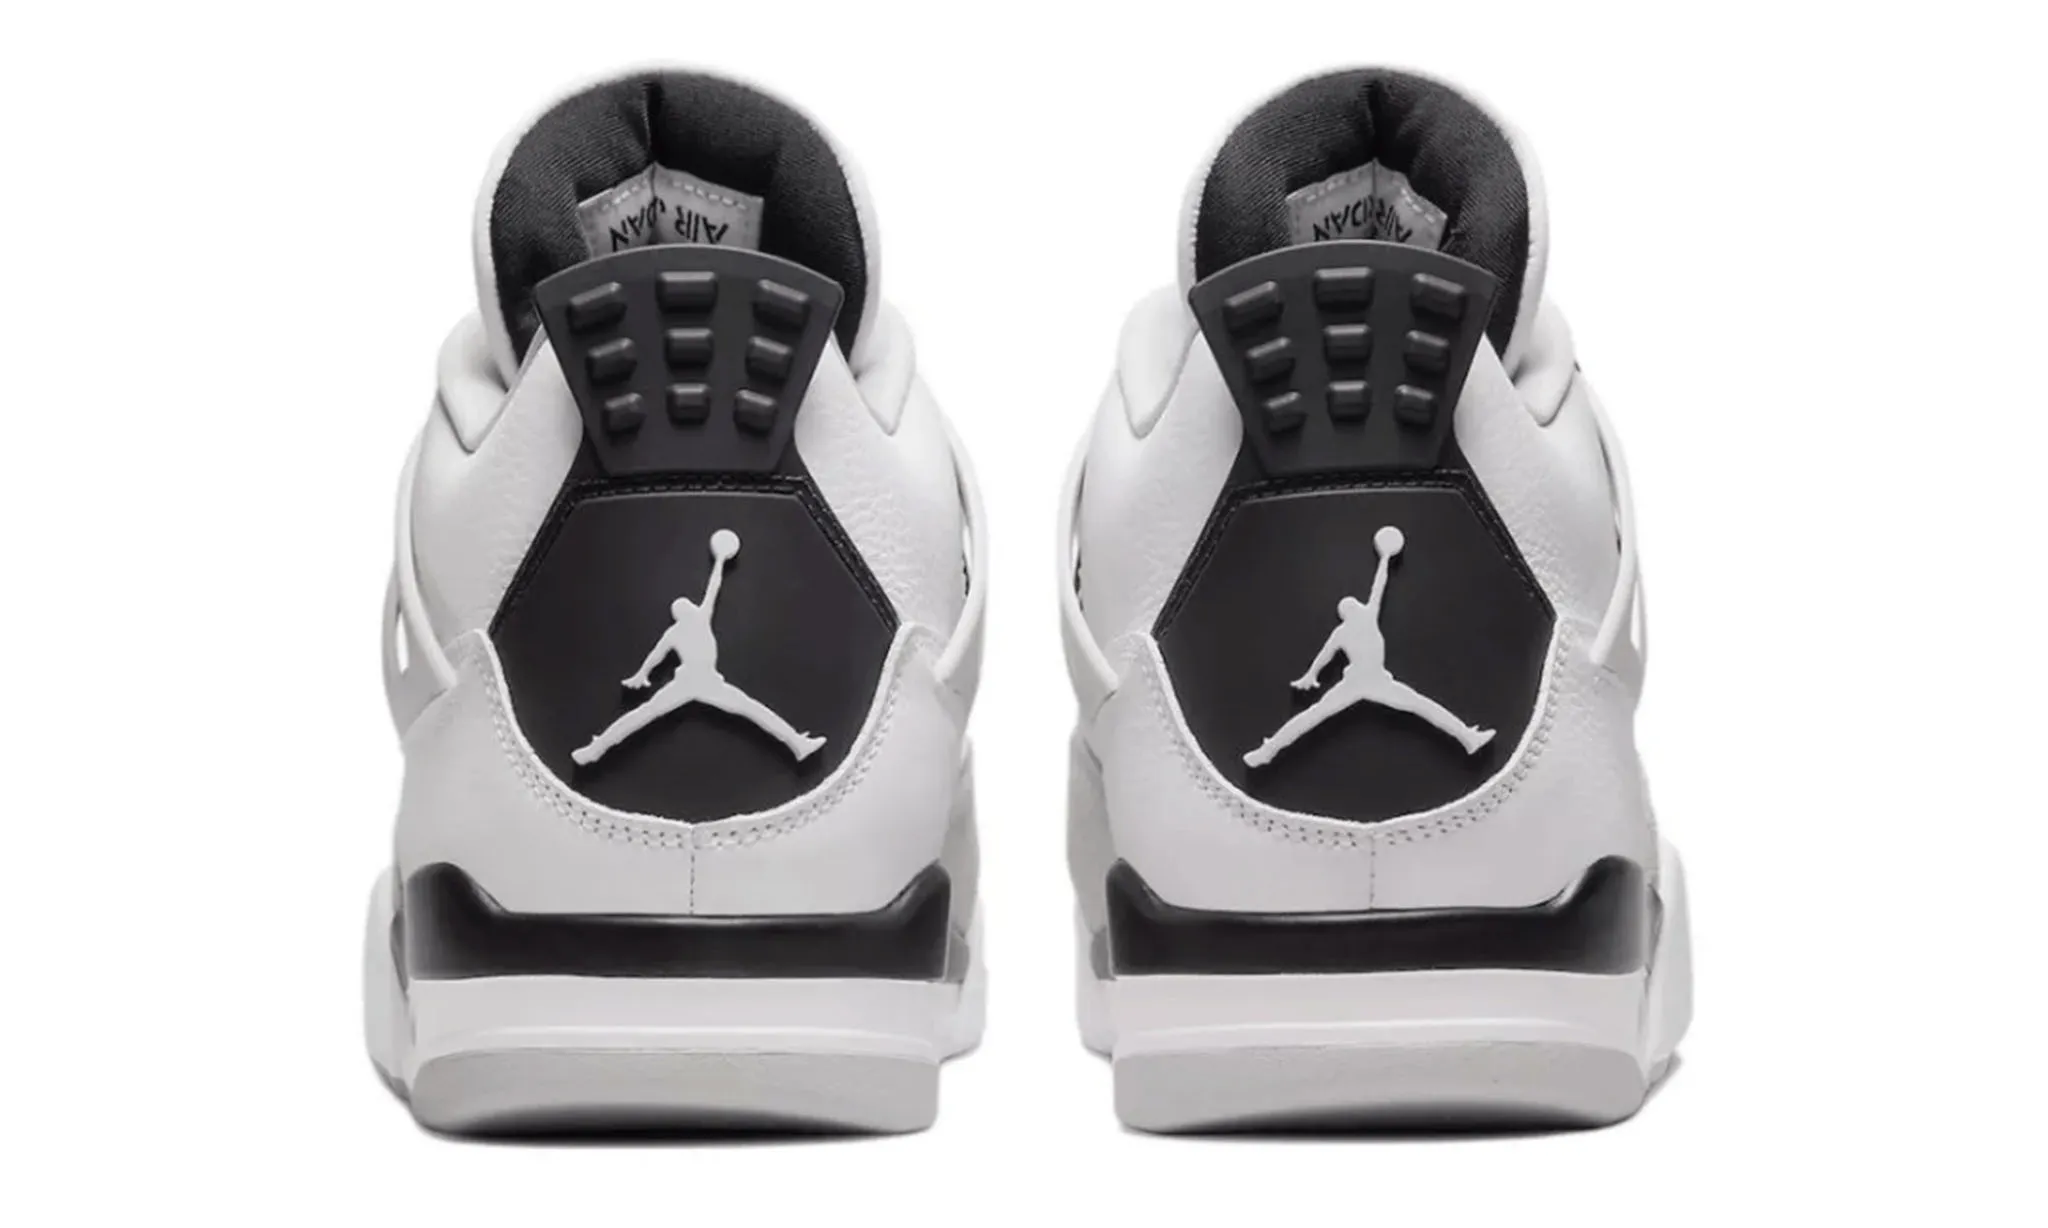
2. Lower front view — The front edges are more directly visible from this camera height. Both shoes still need to be level for a useful left-to-right comparison. 
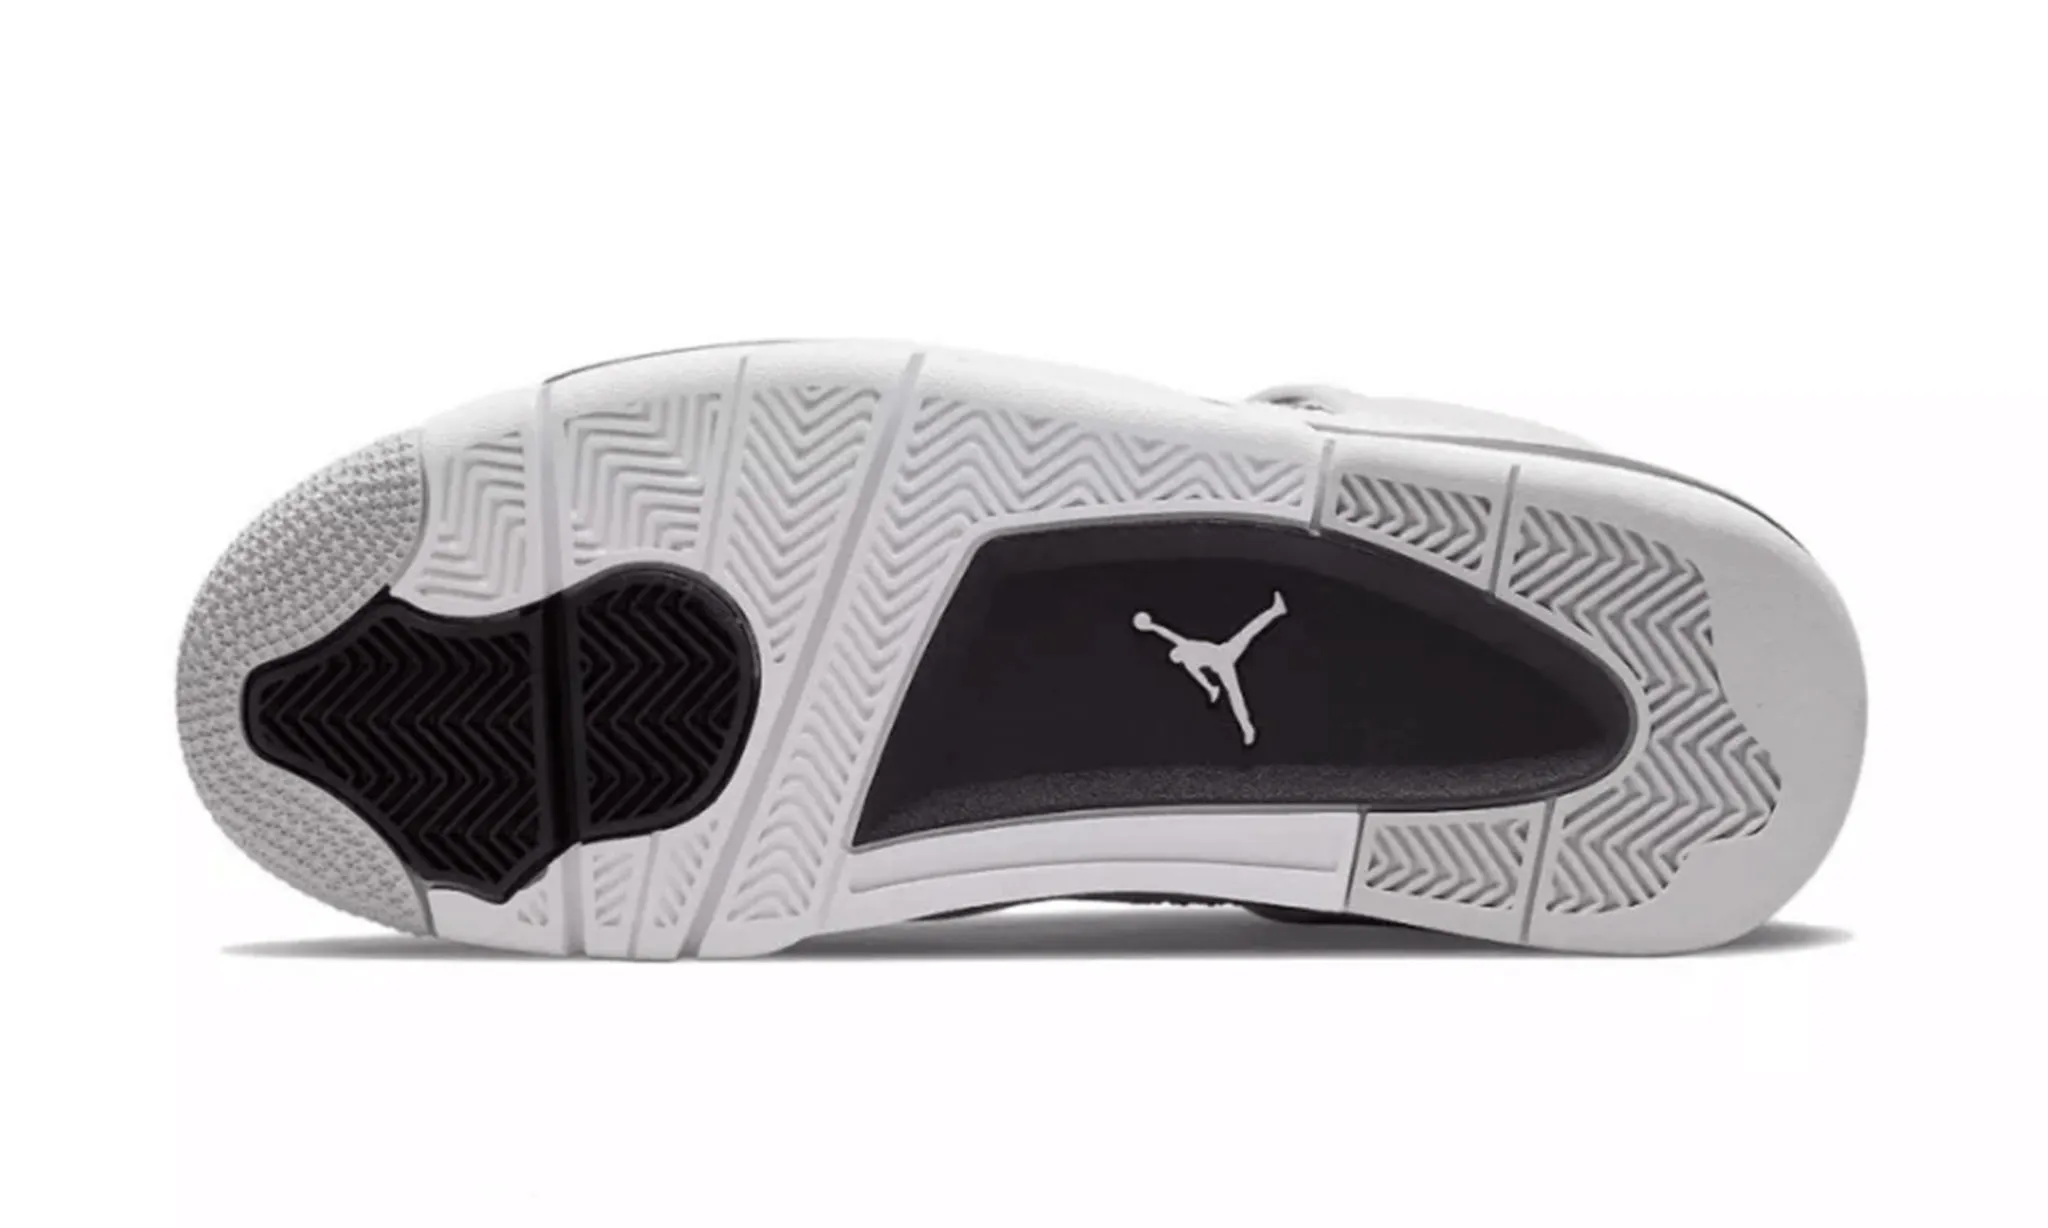
3. Both outsoles — The grey, white and black tread sections are shown together. The image does not measure traction or durability. 
4. Actual shoe label — The printed product and size information appears inside the shoe. Compare it with the order confirmation instead of treating the box label alone as the size check. 
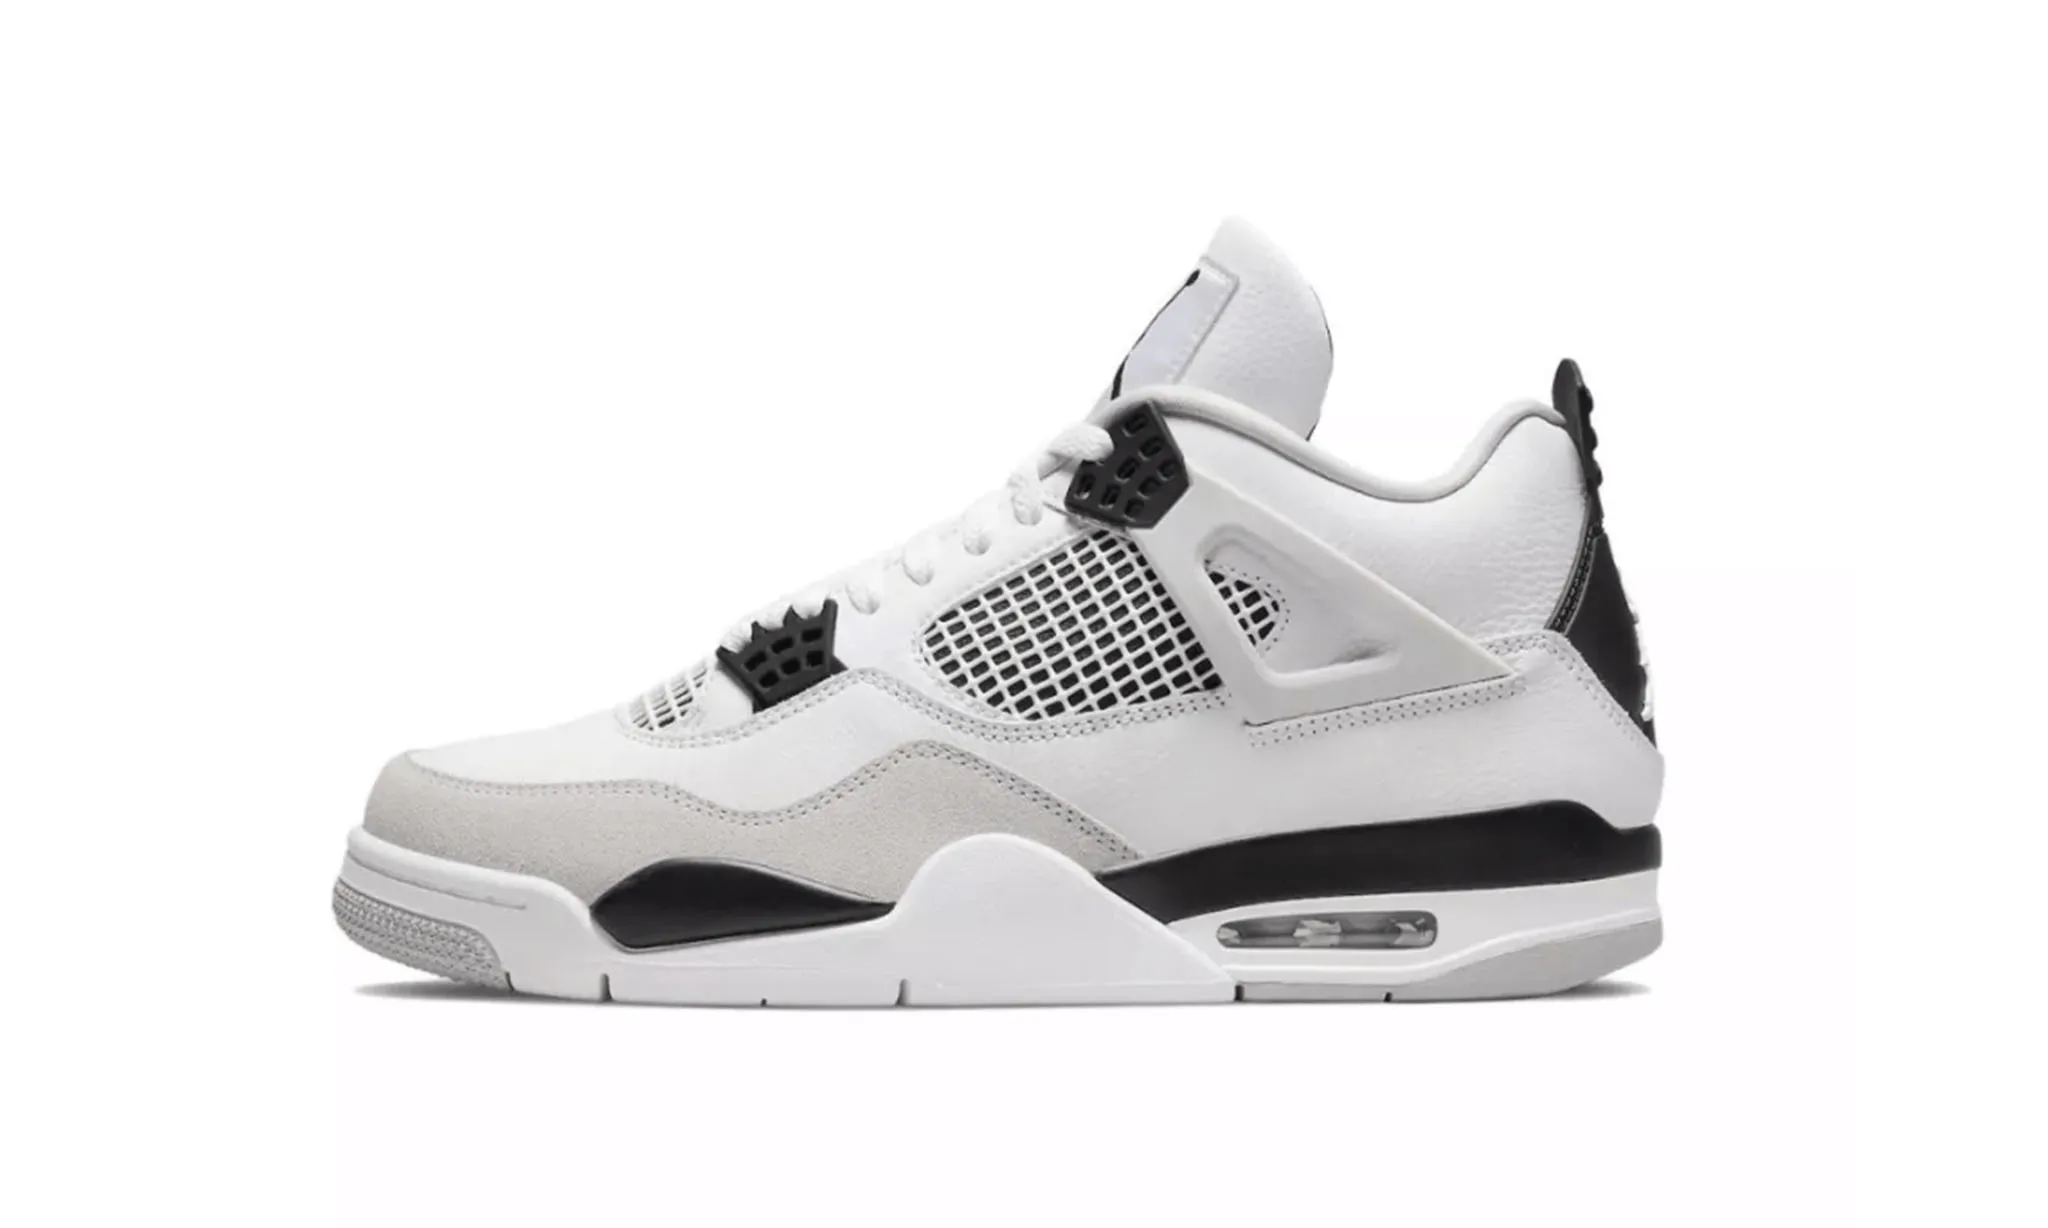
5. Side profile A and box label — The visible side panels, mesh openings, stitched edges and red hang tag provide context. Ask for a clear close-up if the tag covers the area you want to inspect. 
6. Both inner sides — Both inner-side panels and sole edges are visible in one frame. Use the same location on each shoe when describing a difference. 
7. Side profile B — The other side profile gives another view of the panel edges, mesh and visible stitching. It complements the front views rather than replacing them. 
8. Heel view — Both rear tabs, heel artwork and seams are visible. Identify a specific edge before requesting a closer, centered rear photograph. How should I ask for a clearer QC photo?
- Name the photo number, the shoe and the exact area you want checked.
- Ask for a focused close-up plus a level wider view when angle or alignment is the concern.
- Check the actual shoe label against your order confirmation before dispatch; request a measurement separately if fit is the question.
Read our QC and size-label checking guide or browse the complete eight-photo QC case index. Before dispatch, you may request a different pair or cancel for a full refund; see the returns, refunds and cancellations policy. For a photo that needs clarification, contact Beetsneakers.
-
Customer ReviewsNo comments