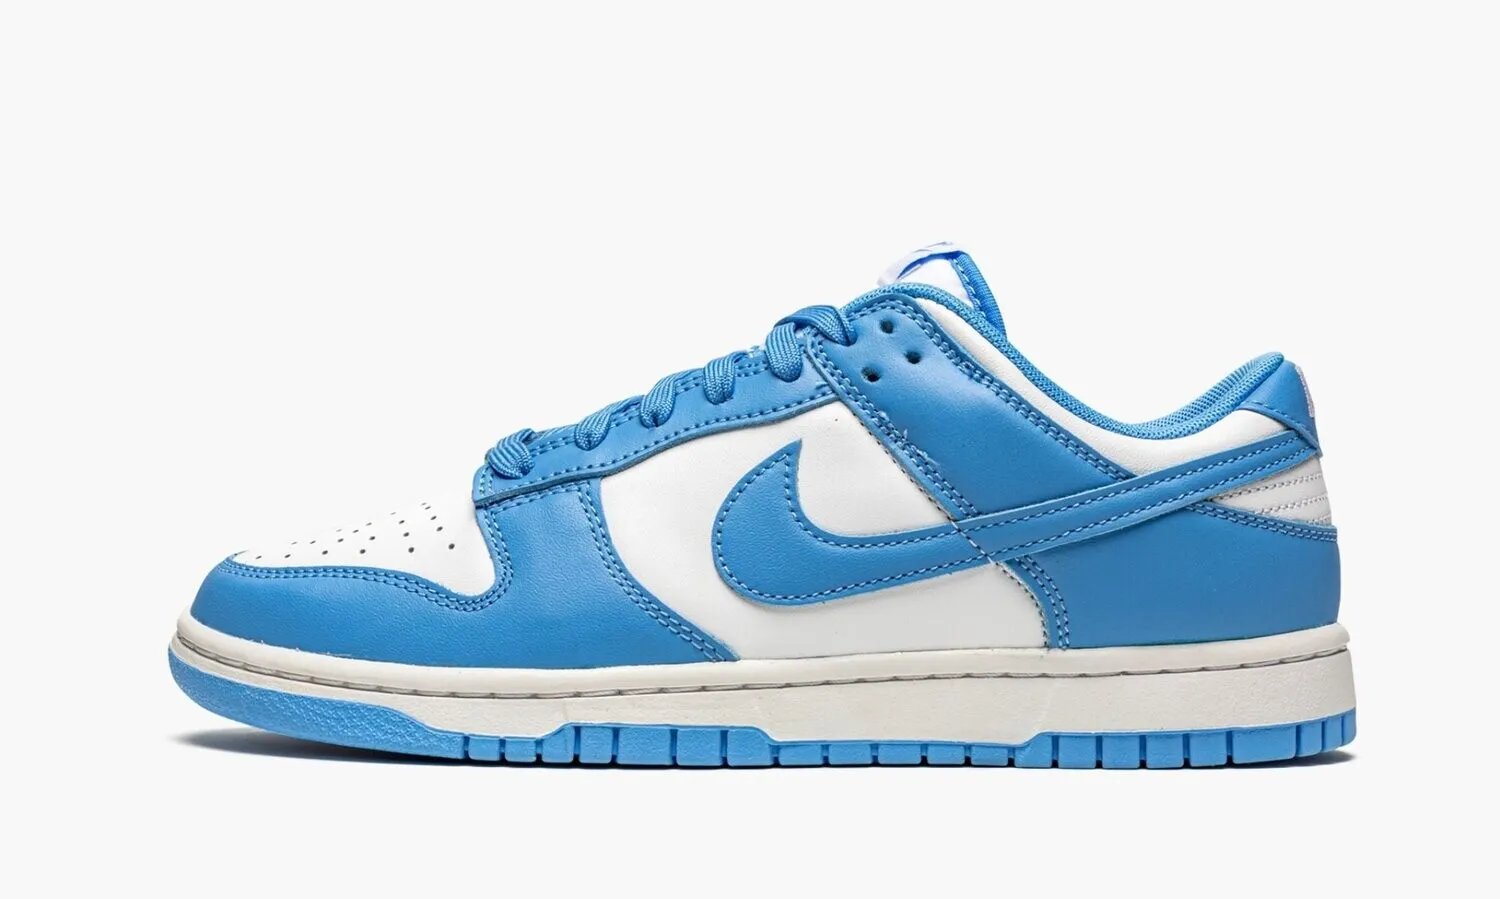
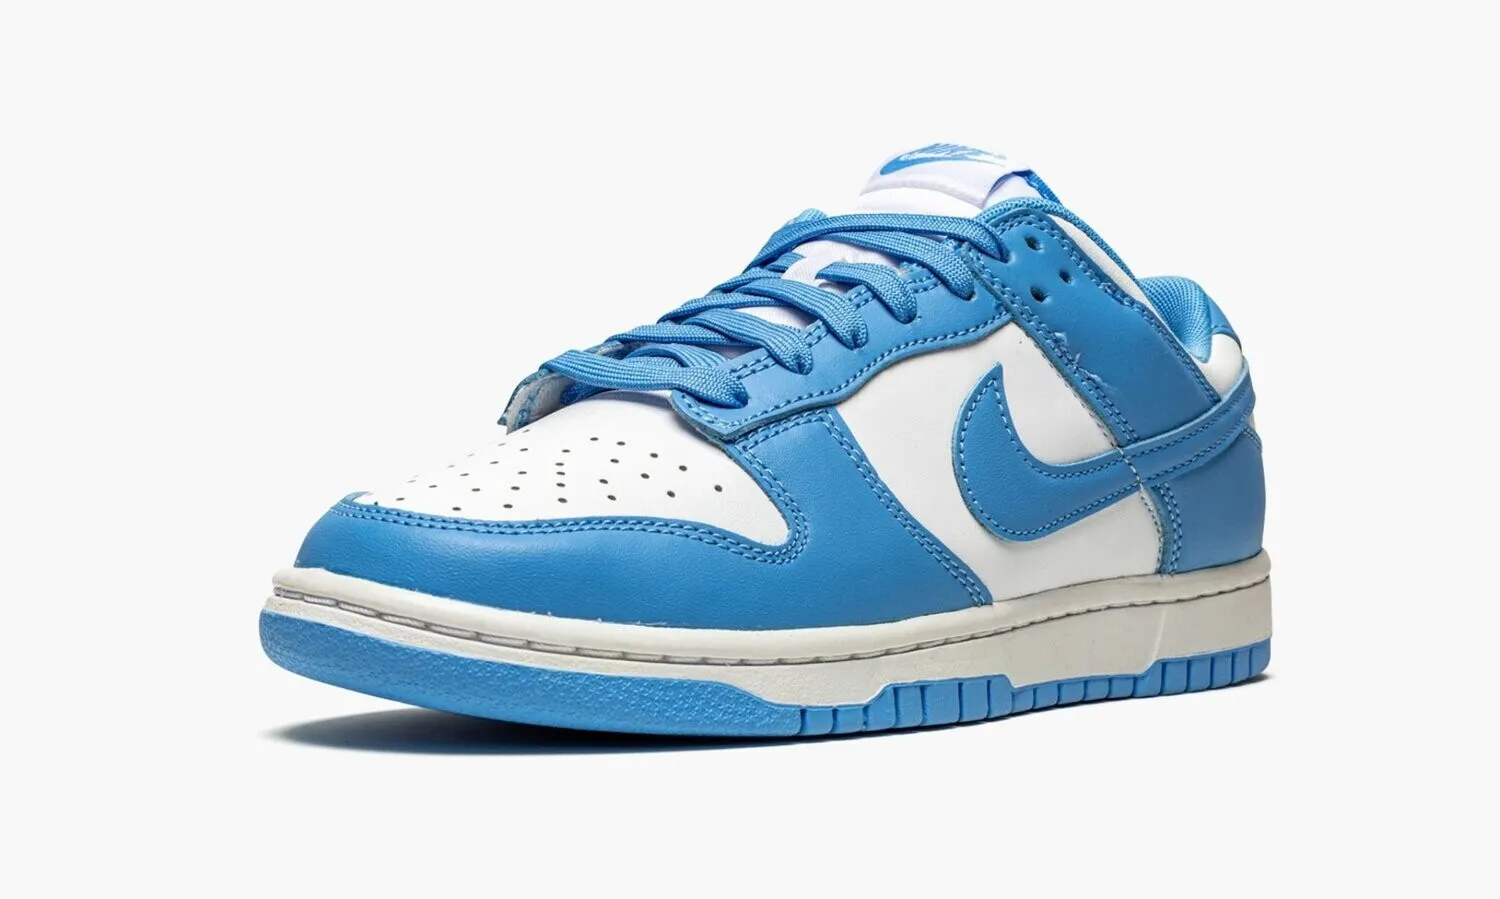
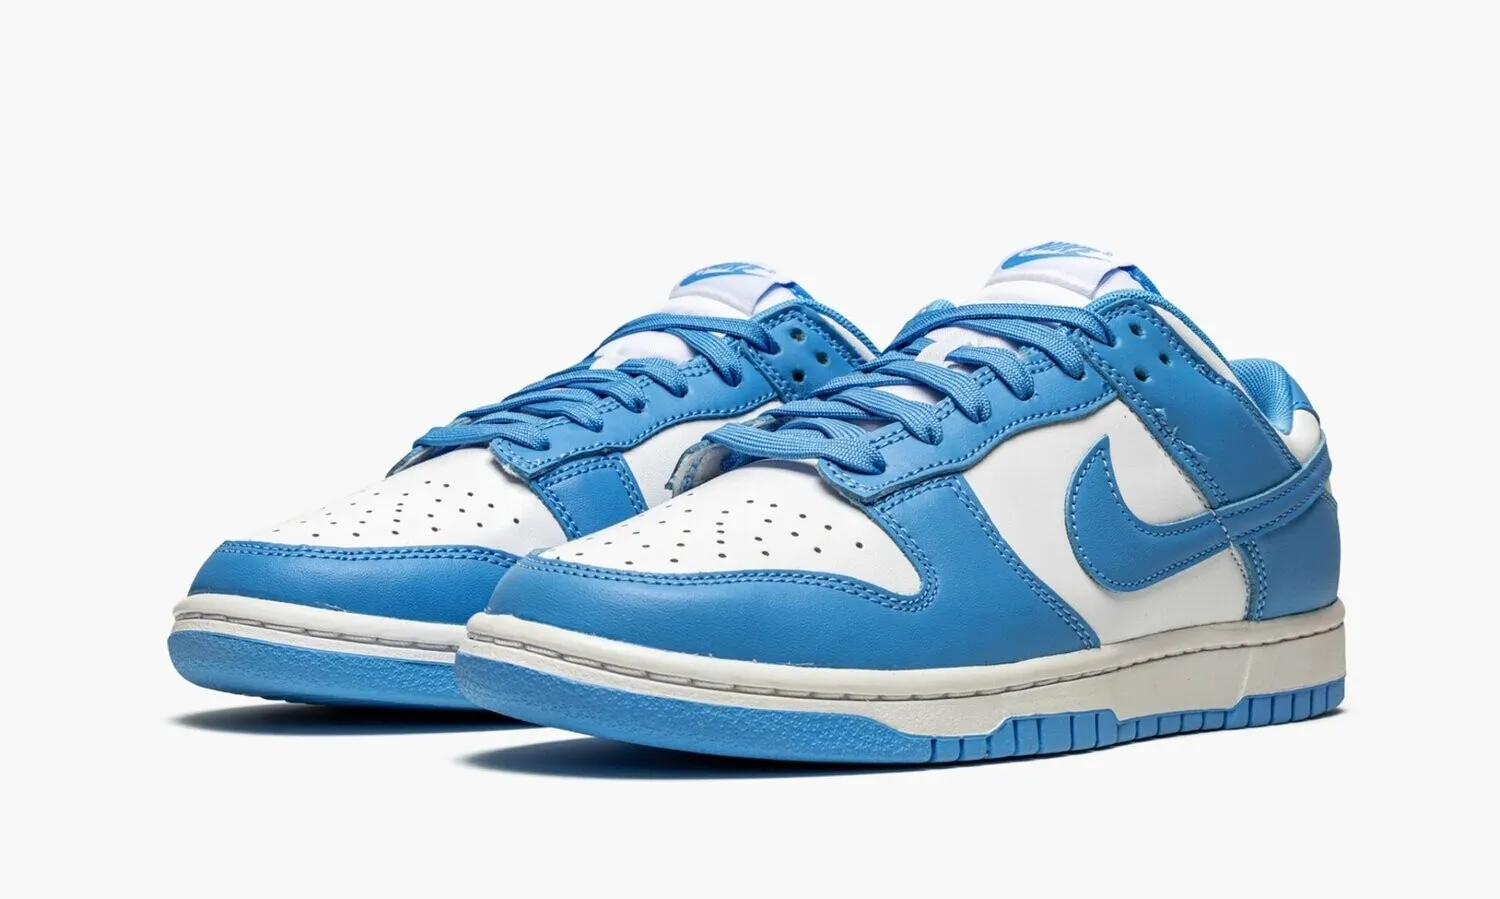
NIKE DUNK LOW University Blue
-
Detail
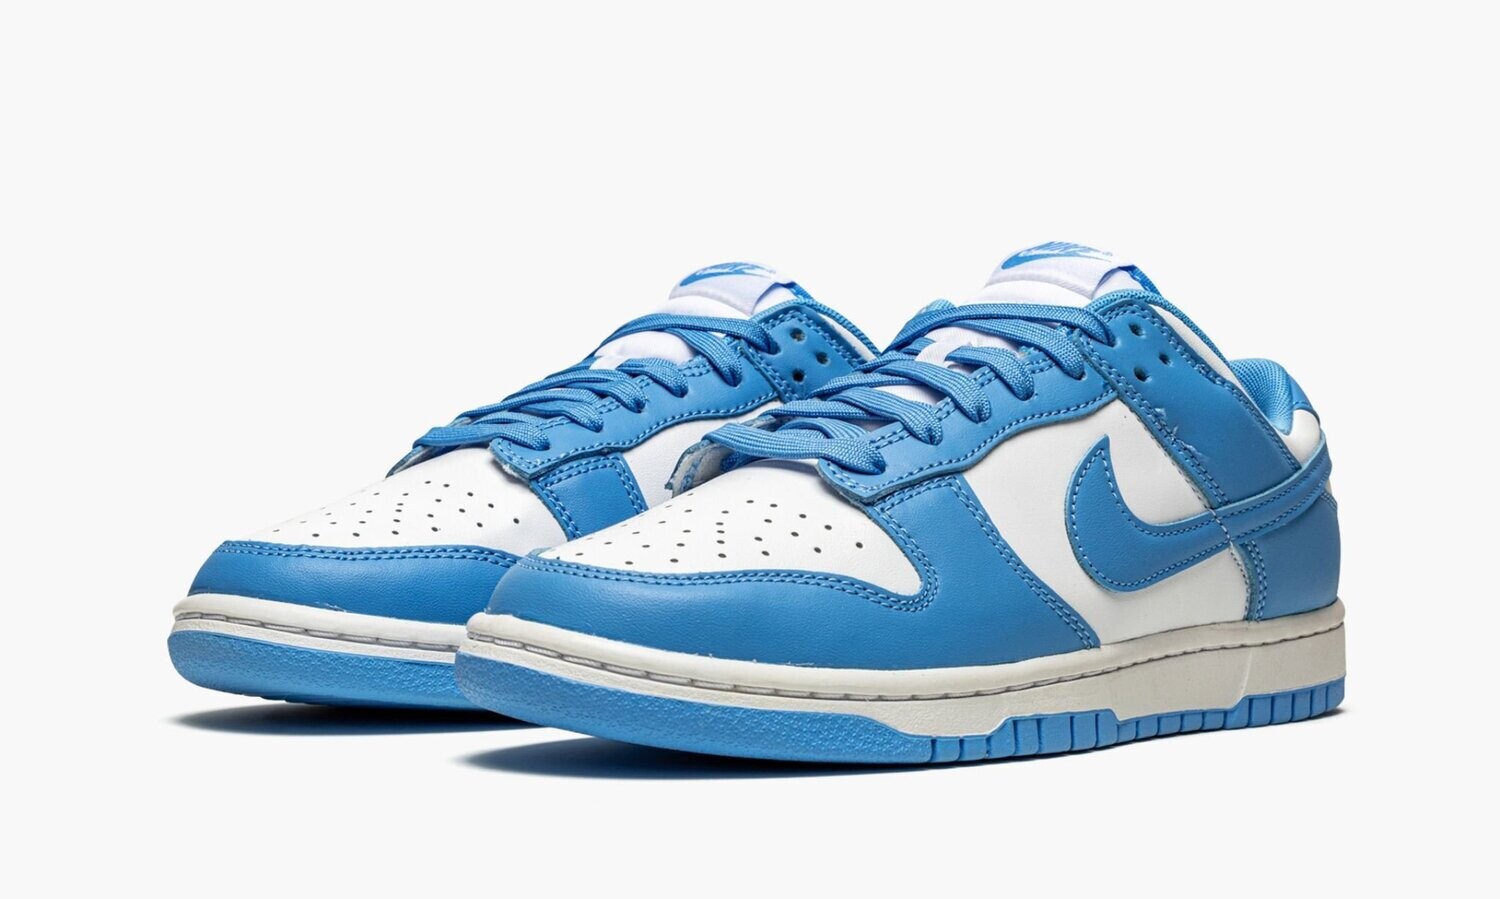
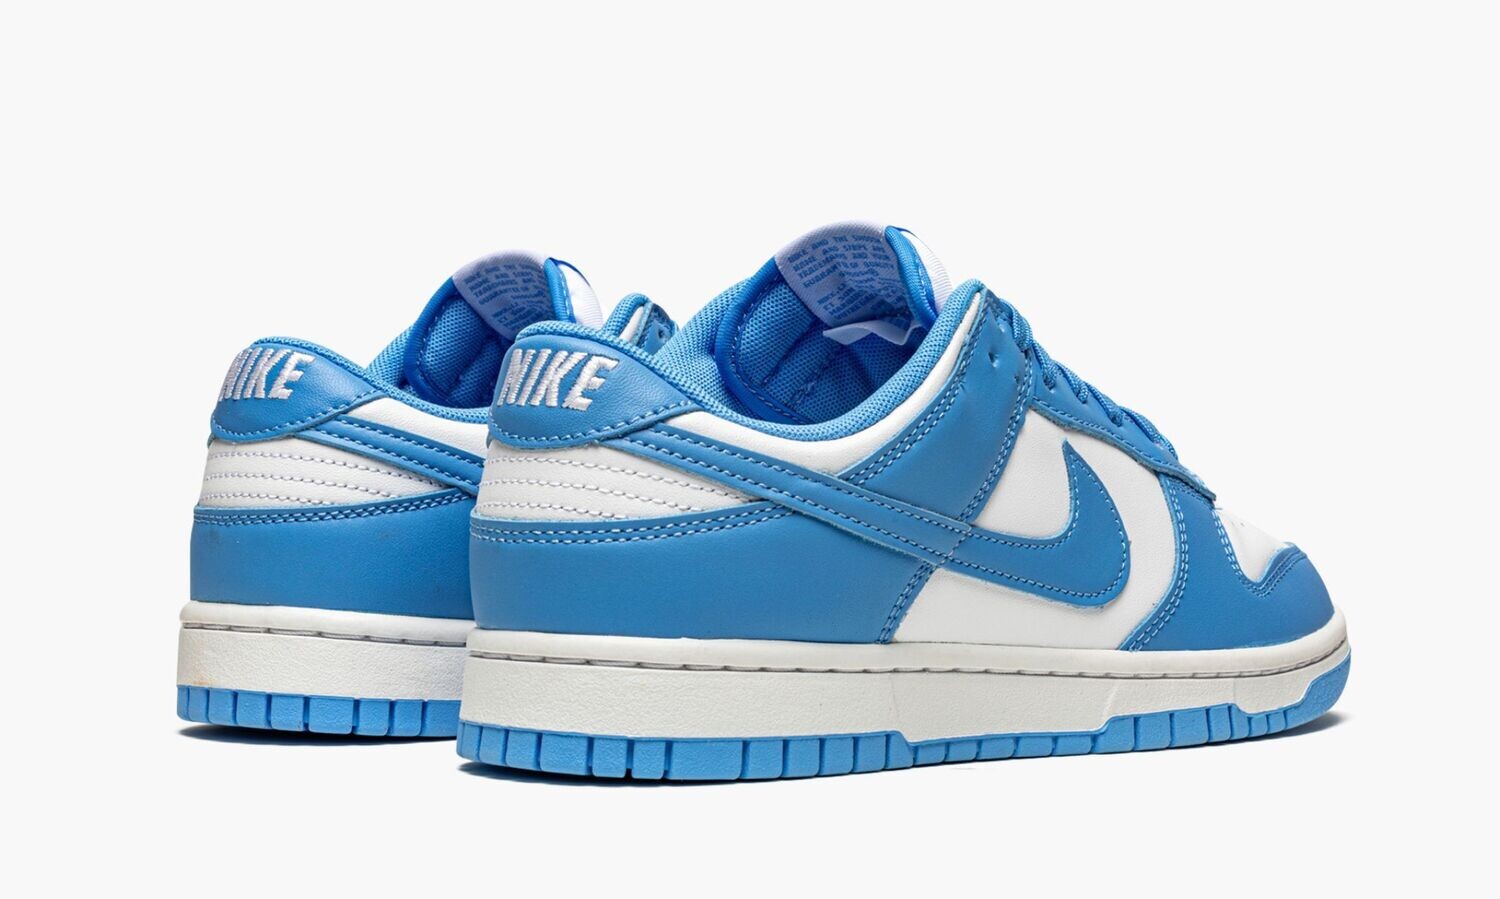
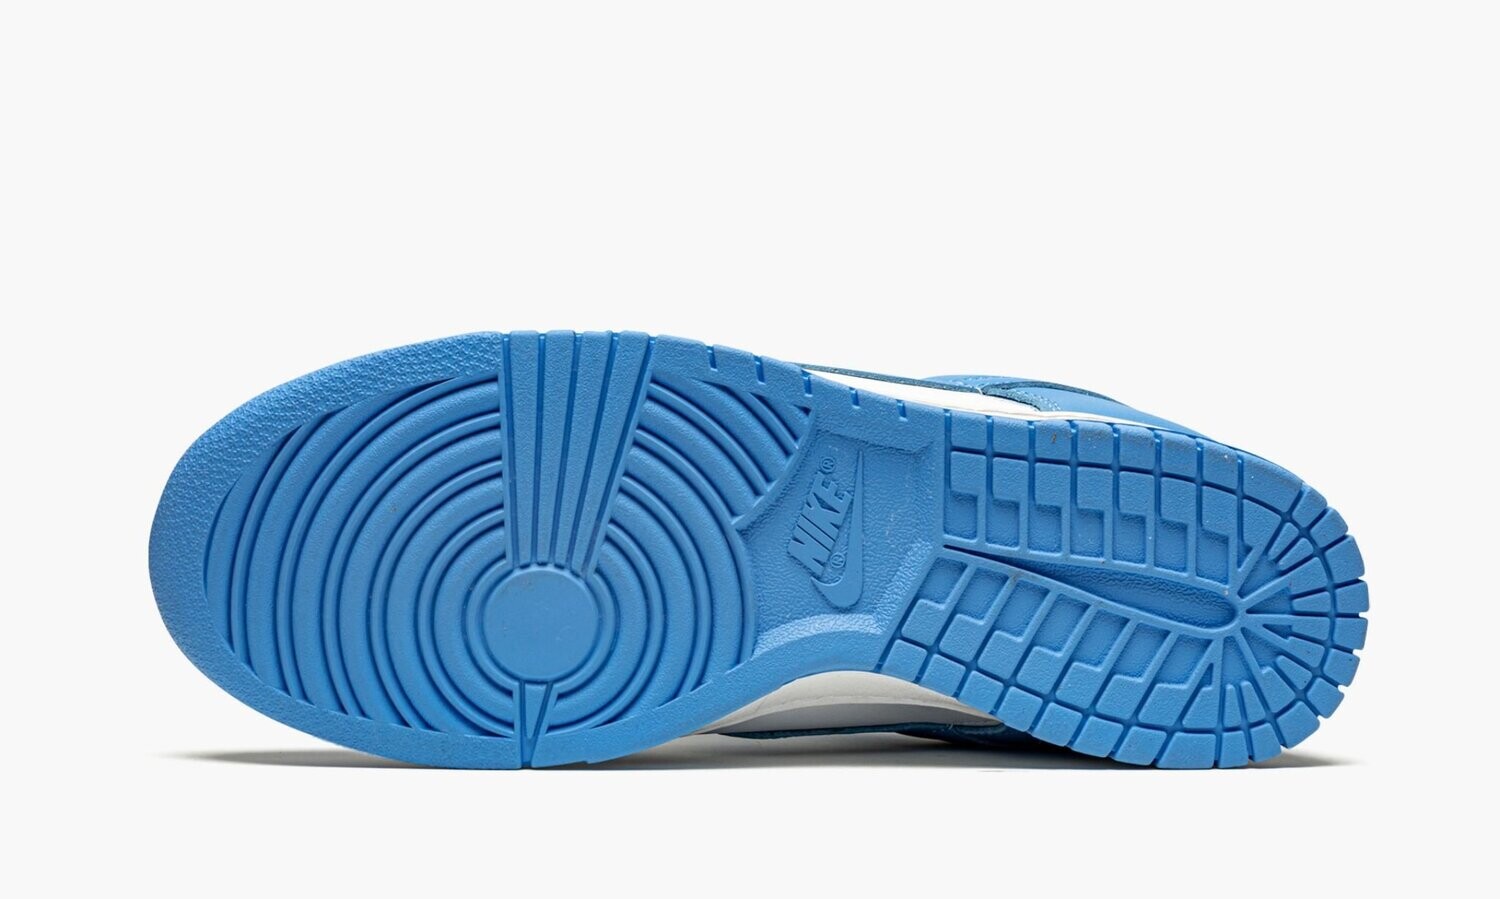
Nike Dunk Low Retro University Blue: heel lettering and stitching in eight QC photos
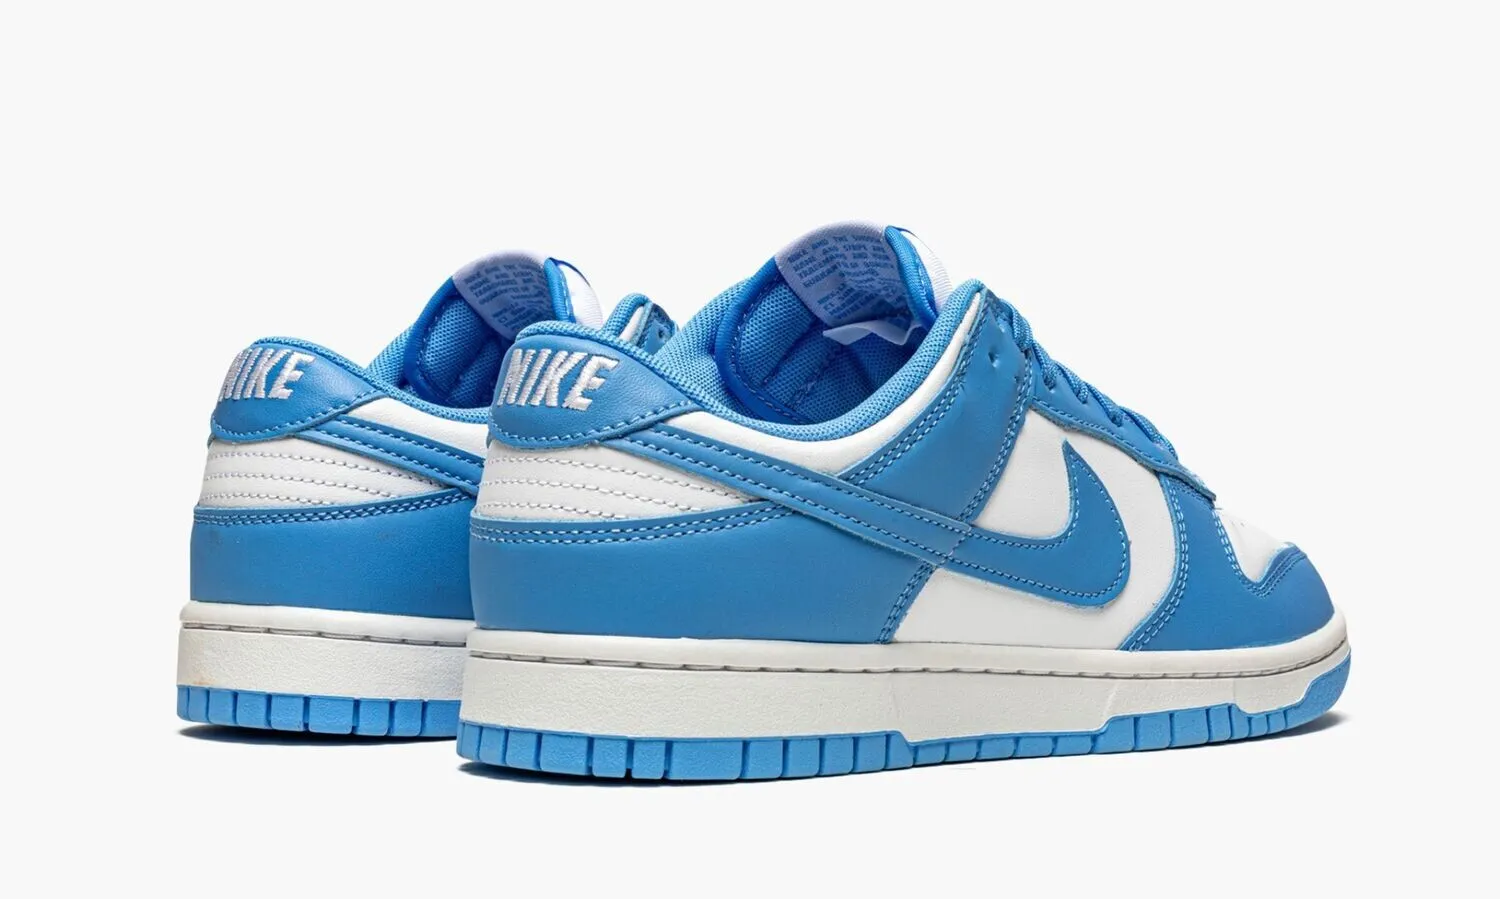
Start with photo 2 when reviewing the heel lettering on Nike Dunk Low Retro University Blue, then compare the nearby panels in photos 6 to 8. This complete eight-photo set comes from one historical replica pair in the Beetsneakers QC archive, reference 1817.
The wide heel photo shows the white lettering, blue heel tabs and curved stitched edges together. It is useful for locating a concern, but a small thread or stitch needs a closer image. A useful request would be: “Please photograph the lower edge of the heel tab straight-on, with the camera level and the stitching in focus.” Keep the wider view for context, then compare the close-up with that same shoe. Lighting and camera angle can affect apparent color and alignment; these photos alone do not establish a defect.
This archived set does not show current stock, provide a fit test or establish an official release year. These are historical archive photos, not photographs of a newly placed order, customer reviews or authentication results.

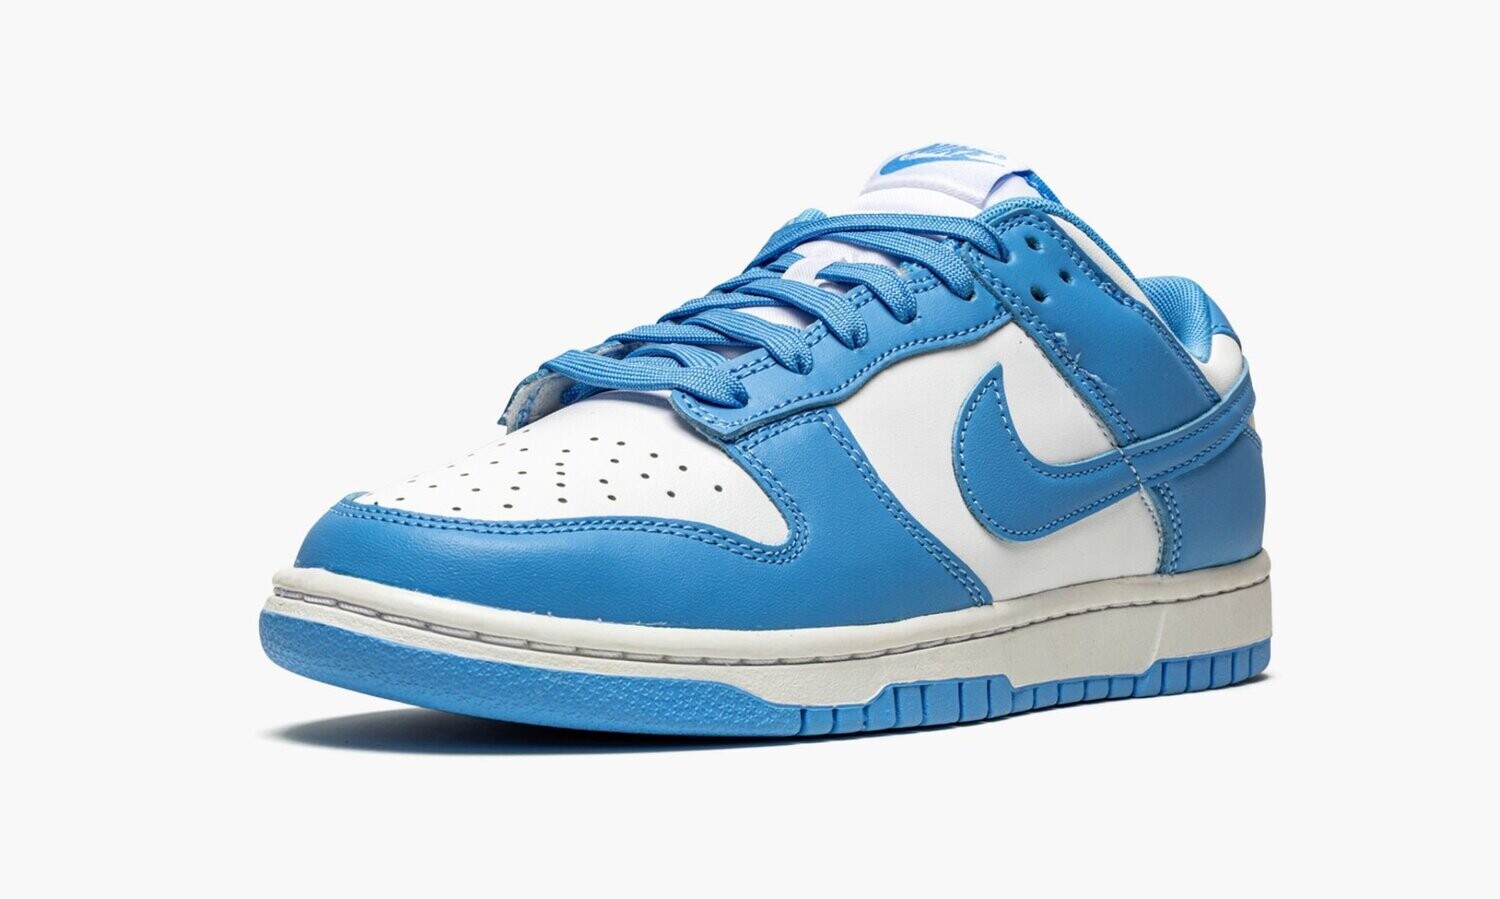
1. Front overview — Both toe areas, blue laces and tongue labels are visible. The reference note reads 1817. 
2. Heel lettering — The white lettering, blue heel tabs and curved stitched edges are visible together. Request a closer, level view if an individual thread is the question. 
3. Top view — The toe perforations, lacing and tongue labels are shown from above. Use this view to locate an area rather than infer an exact measurement. 
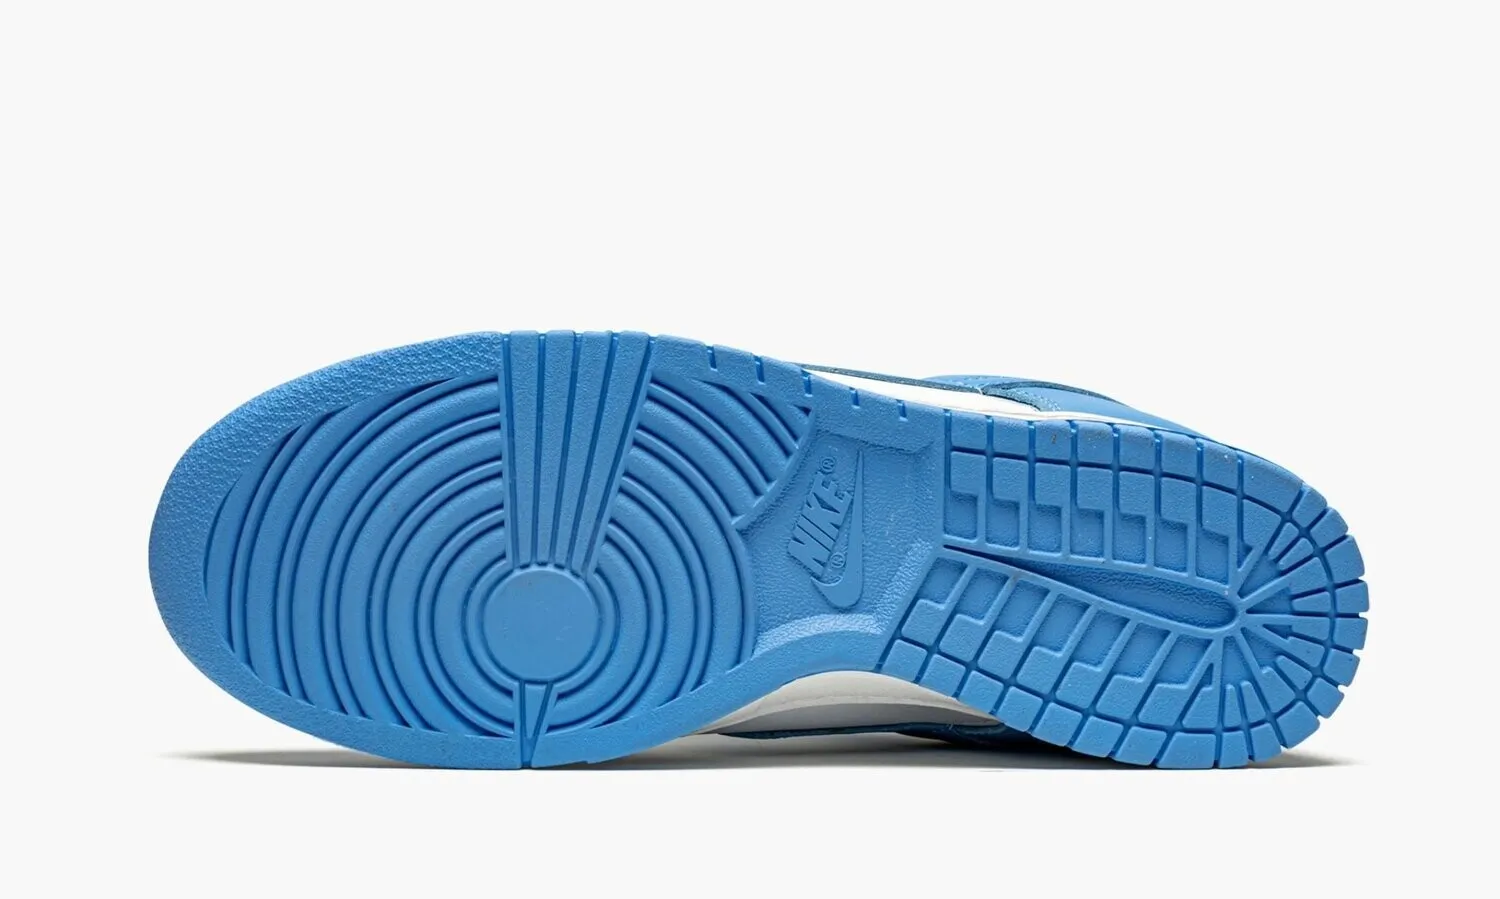
4. Both outsoles — The blue tread patterns are shown side by side. A photograph does not establish grip or long-term wear. 
5. Actual shoe label — The printed label and part of the insole are visible. The shoe label shows US 11 and EUR 45; those markings alone do not establish fit. 
6. Both inner sides — The inner Swoosh outlines, side panels and midsole edges are visible together. Compare corresponding areas of the same view. 
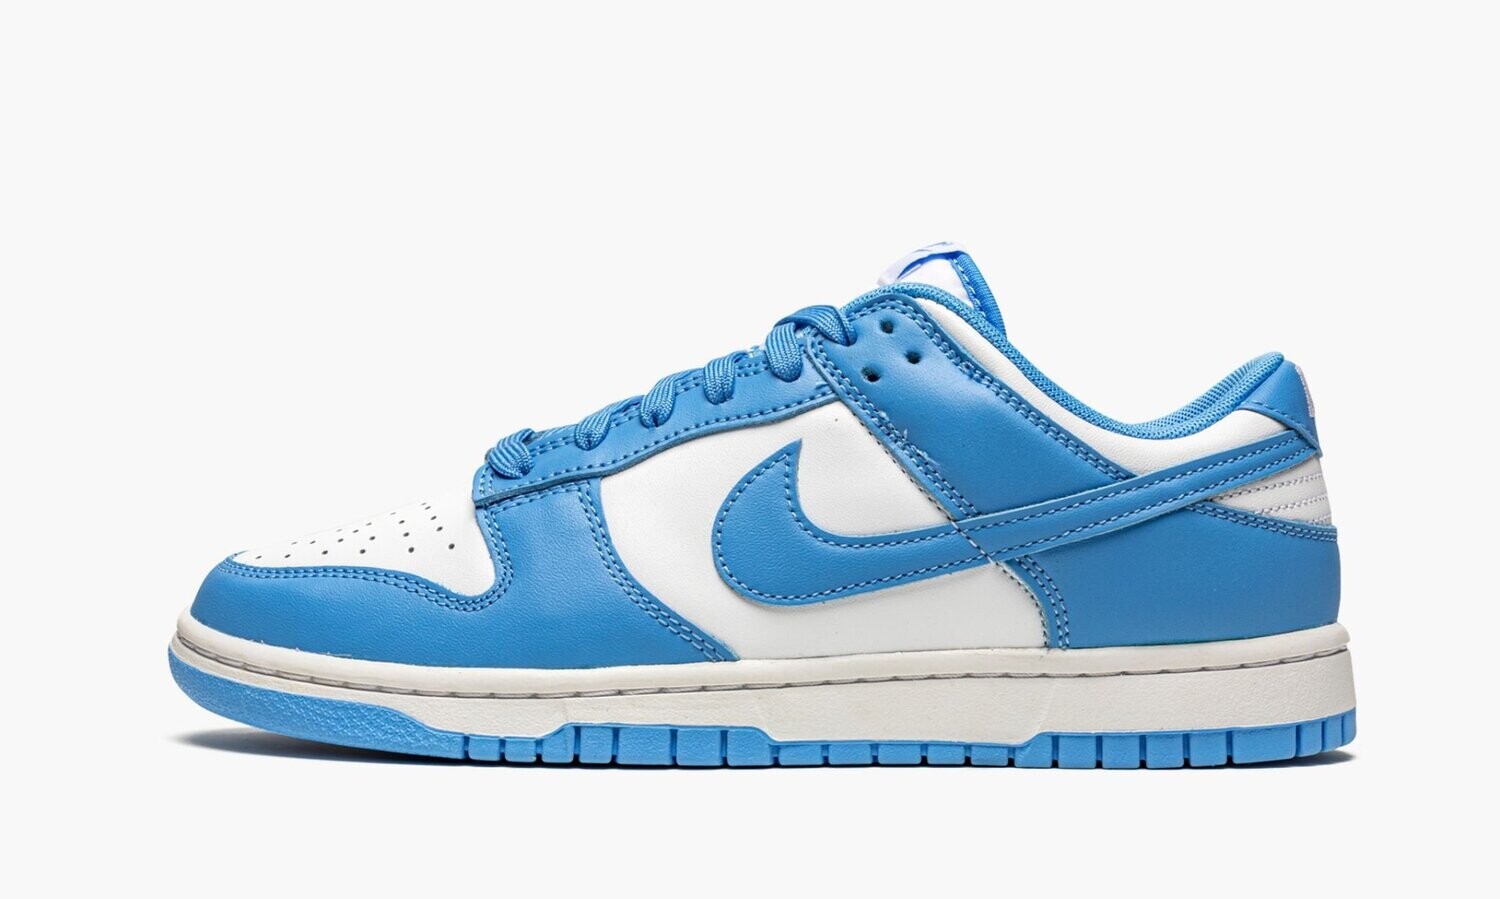
7. Side profile A and box label — The visible stitching and panel edges can be located here, with spare laces attached. Request a close-up if the bag covers a detail you need to see. 
8. Side profile B — The other shoe gives a separate view of the Swoosh outline and panel edges. Compare it with photo 7 while allowing for camera position. How should I ask for a clearer QC photo?
- Name the photo number, the shoe and the exact area you want checked.
- Ask for a focused close-up plus a level wider view when angle or alignment is the concern.
- Check the actual shoe label against your order confirmation before dispatch; request a measurement separately if fit is the question.
Read our QC and size-label checking guide or browse the complete eight-photo QC case index. Before dispatch, you may request a different pair or cancel for a full refund; see the returns, refunds and cancellations policy. For a photo that needs clarification, contact Beetsneakers.
-
Customer ReviewsNo comments